🔐 Fireblocks
stVaults user flow for Fireblocks customers
This guide explains how Fireblocks clients can connect to the stVaults Web UI and interact with stVaults smart contracts using institutional approval workflows.
Connecting Fireblocks to the stVaults Web UI
1. In the stVaults Web UI:
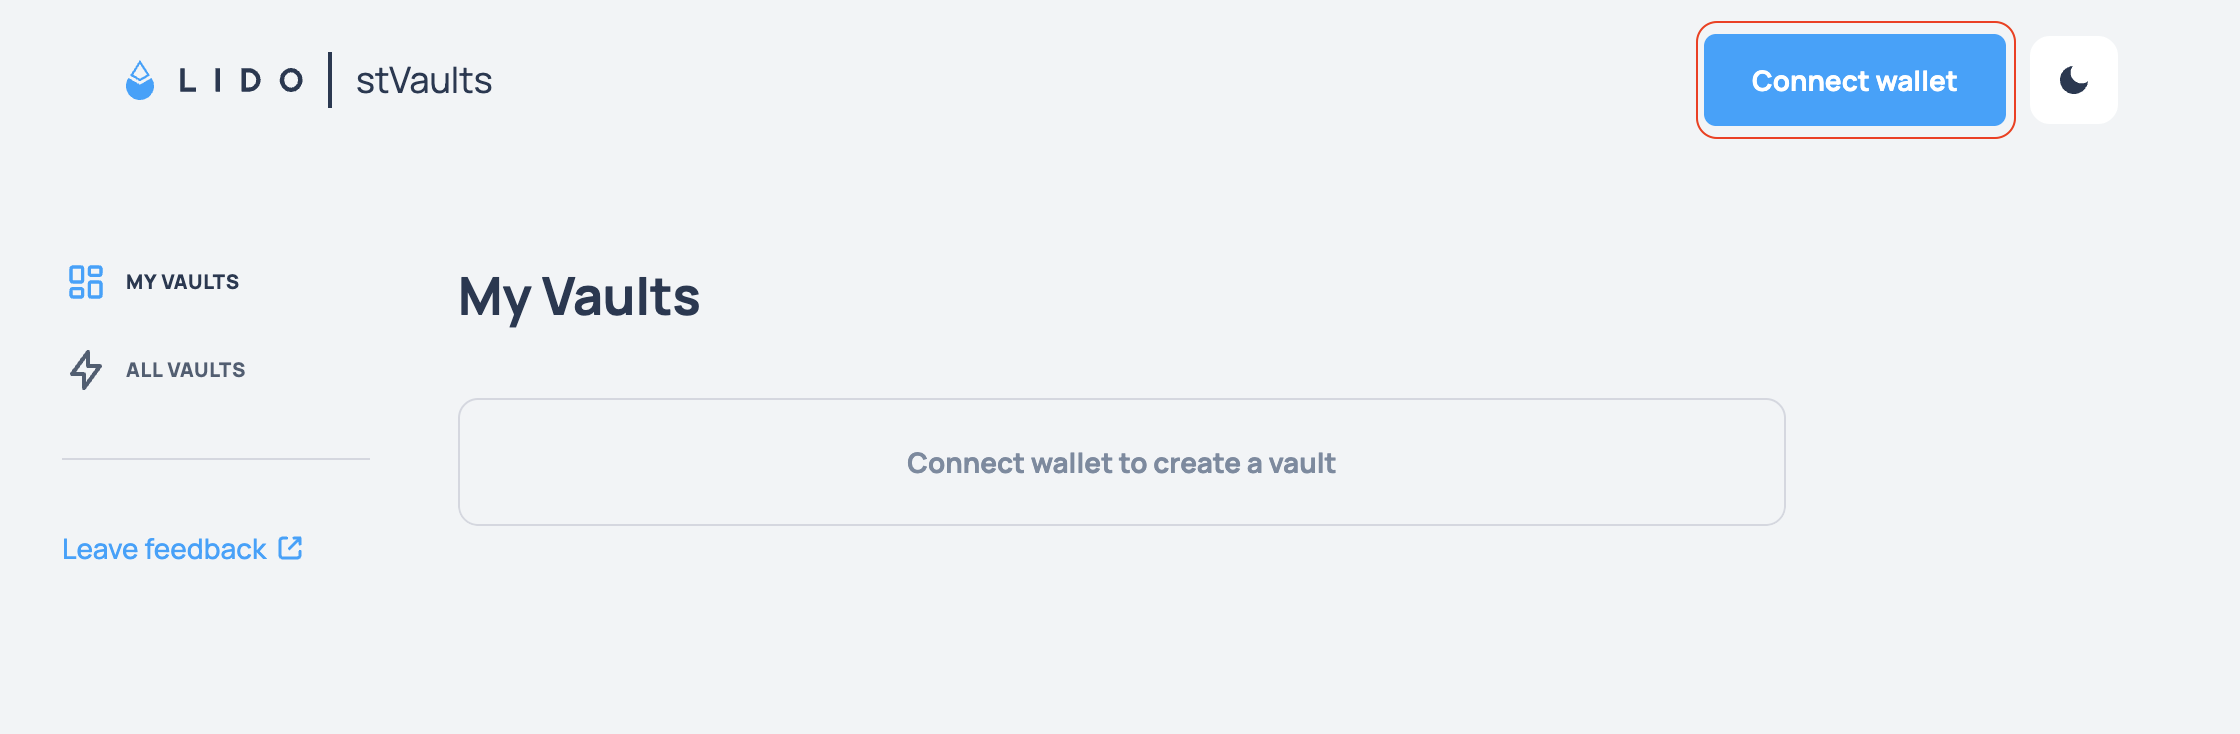
1.1 Open stVaults Web UI and click "Connect wallet"
- Mainnet: https://stvaults.lido.fi/
- Hoodi testnet: https://stvaults-hoodi.testnet.fi/
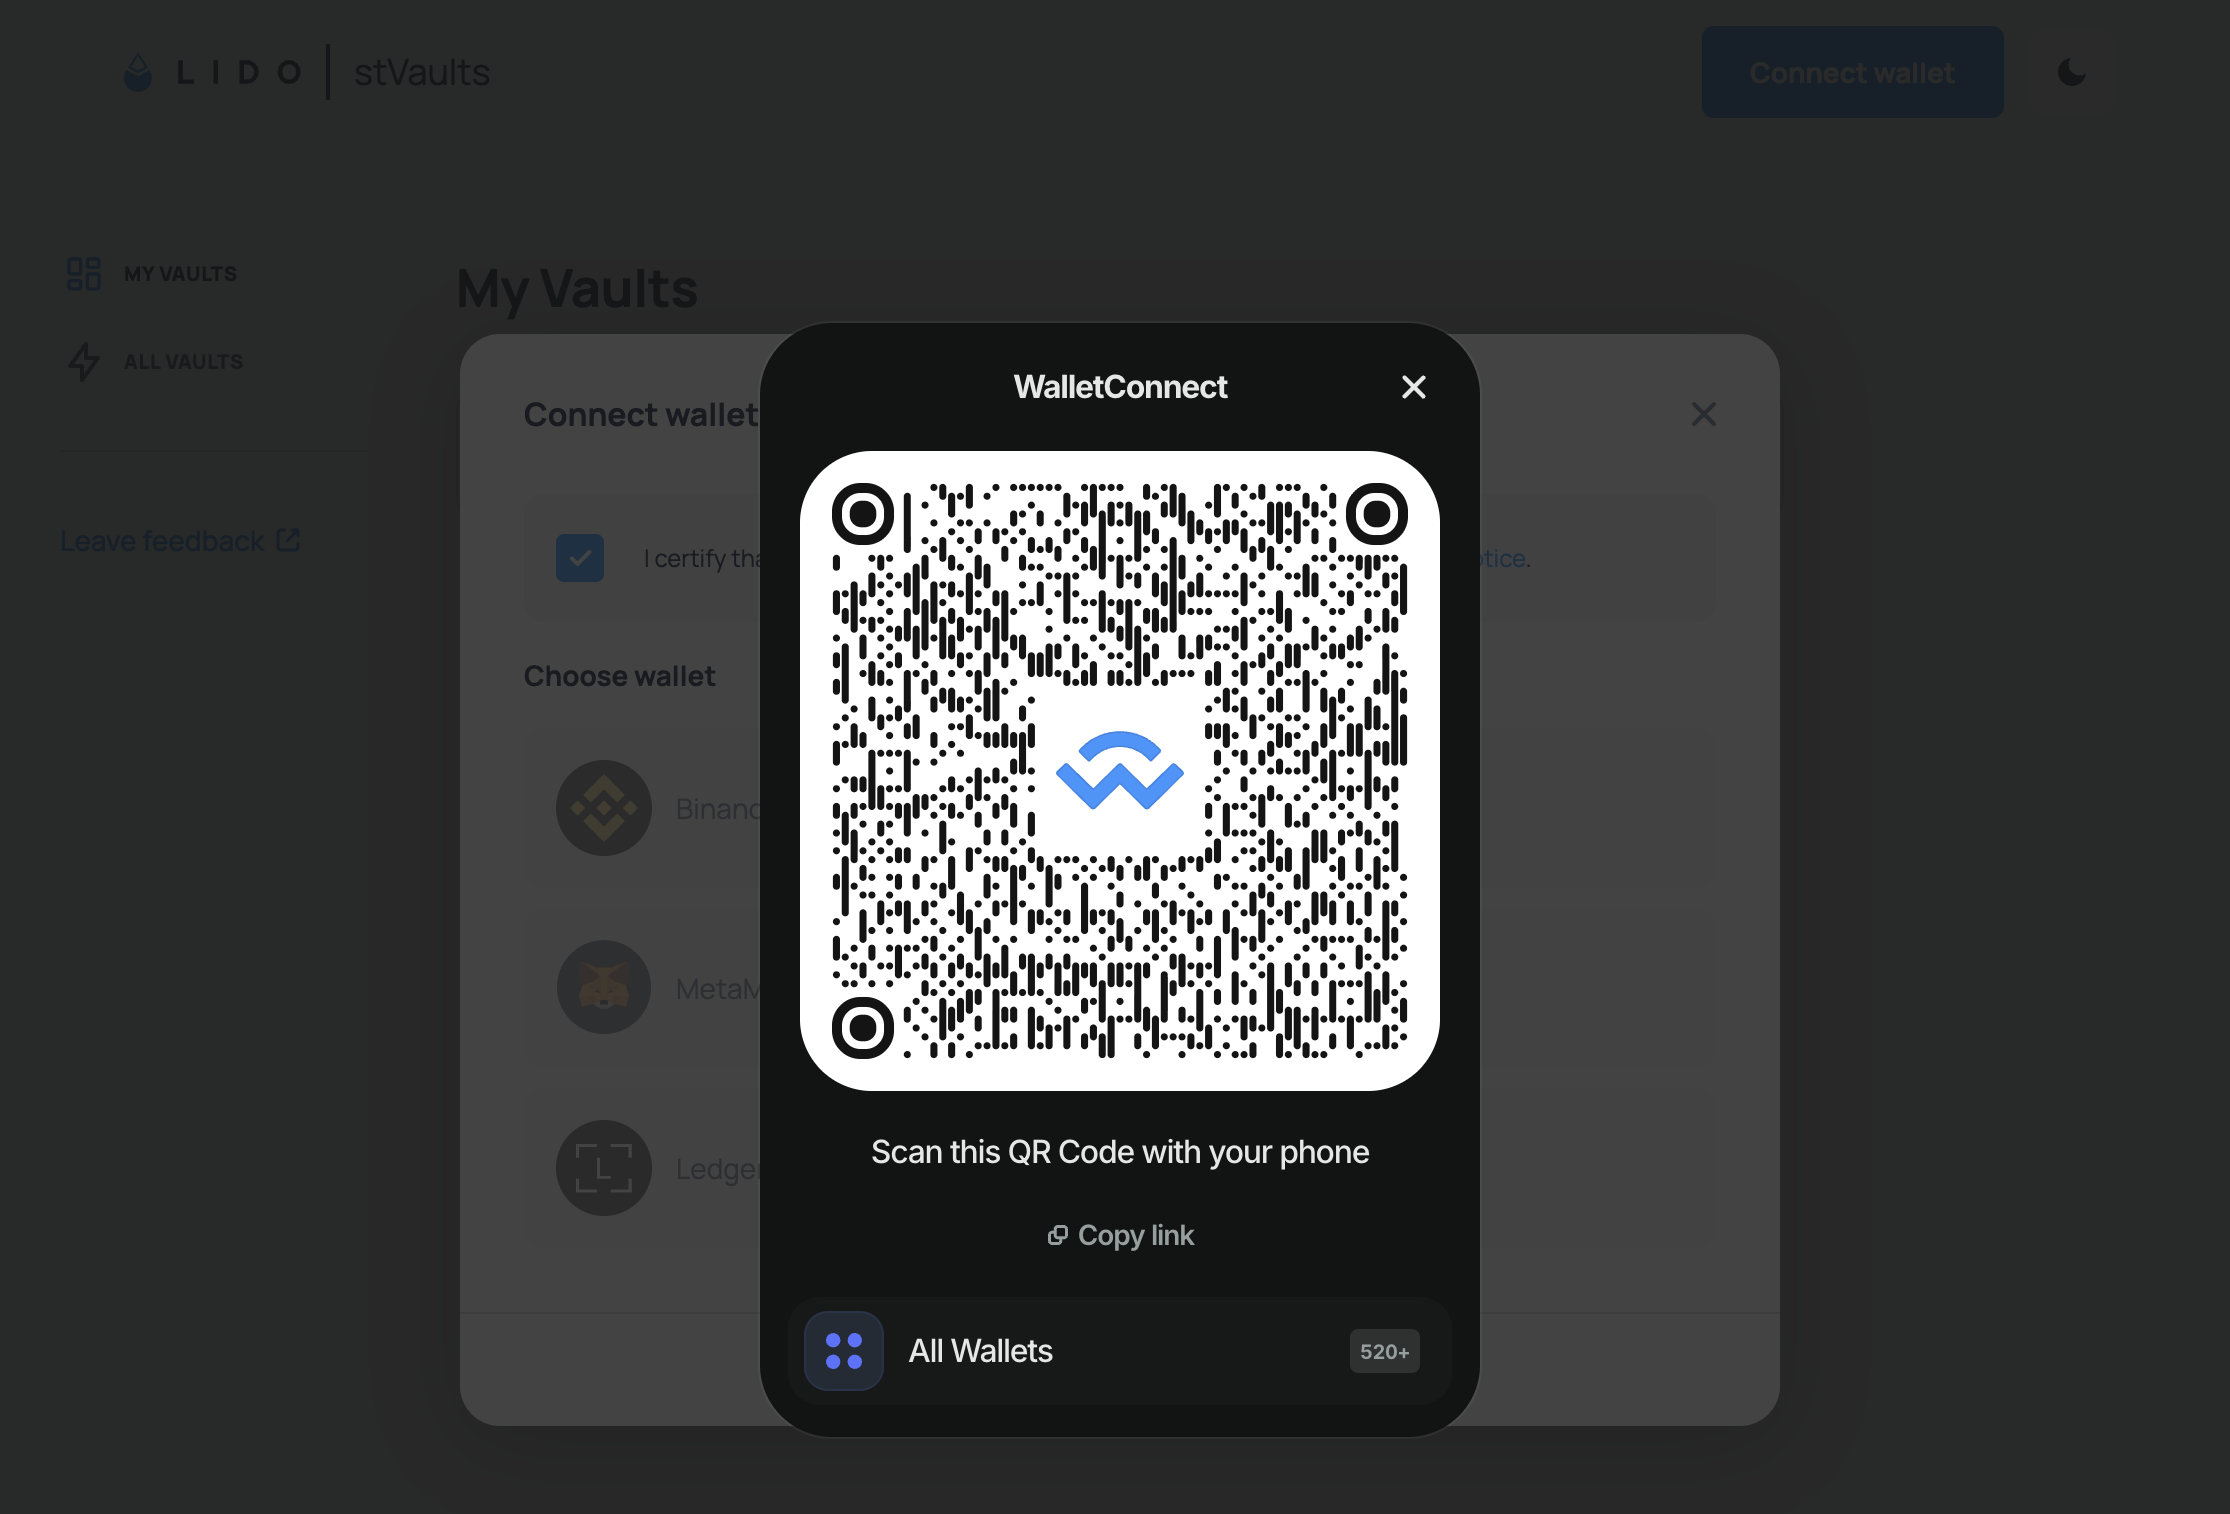
1.2. Click "WalletConnect" button in the dialog window.

1.3. You will see a QR code.
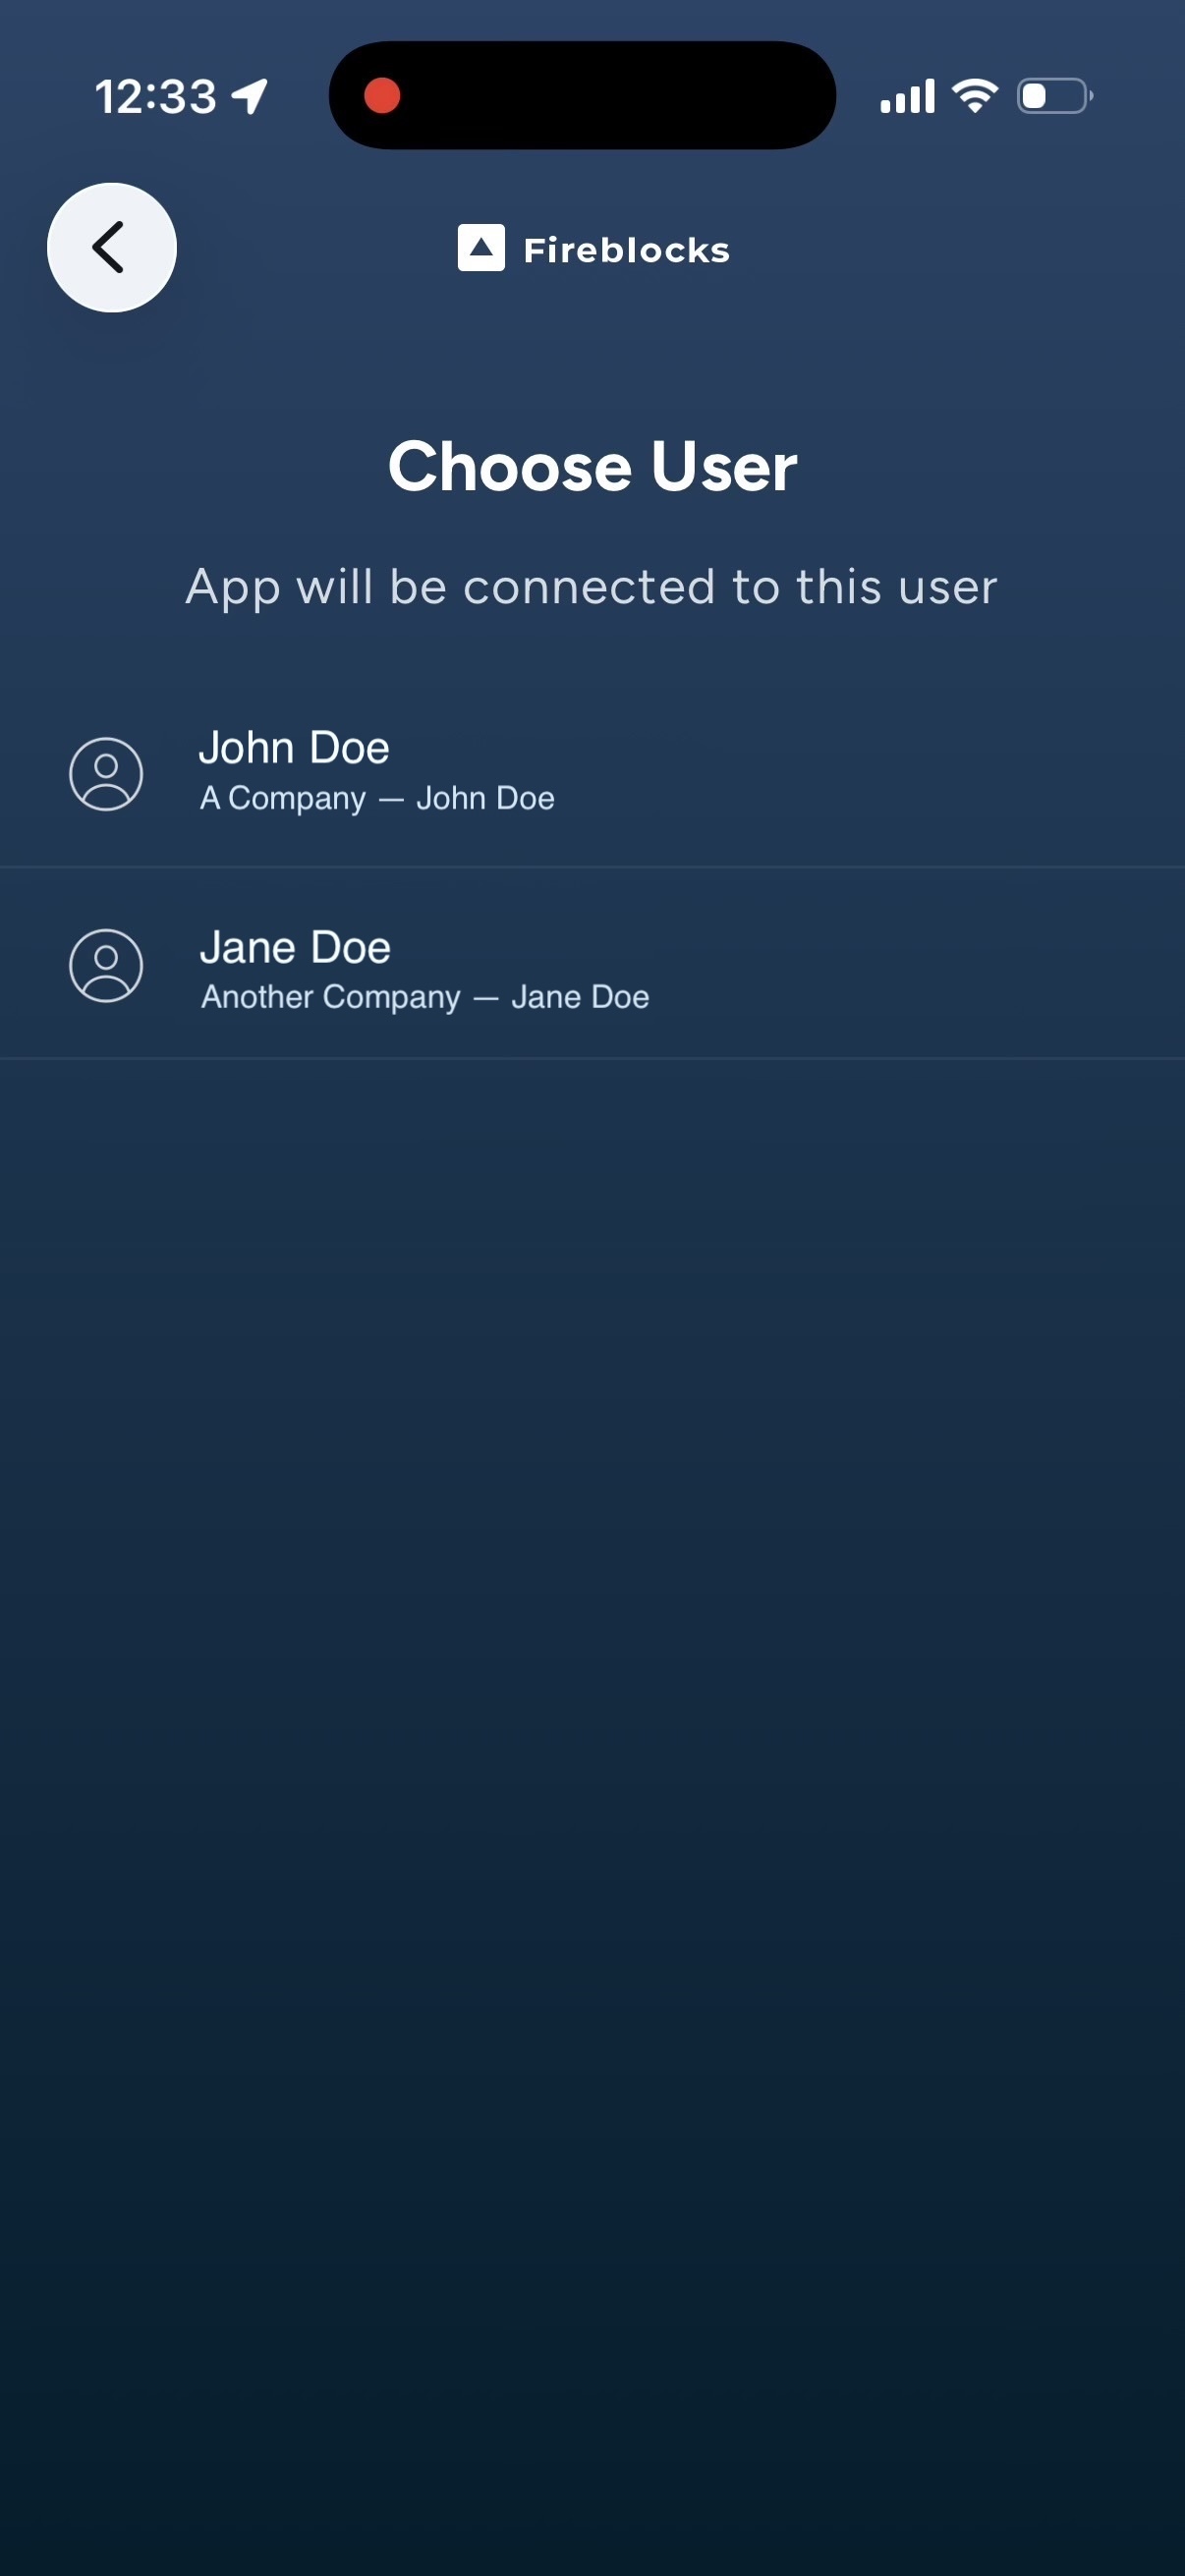
2. In Fireblocks app on your phone:
2.1. Navigate to the Web3 Wallet section, tap the “Scan” icon, and scan the QR code.
Choose a User to connect.
2.2. Choose an account to connect.
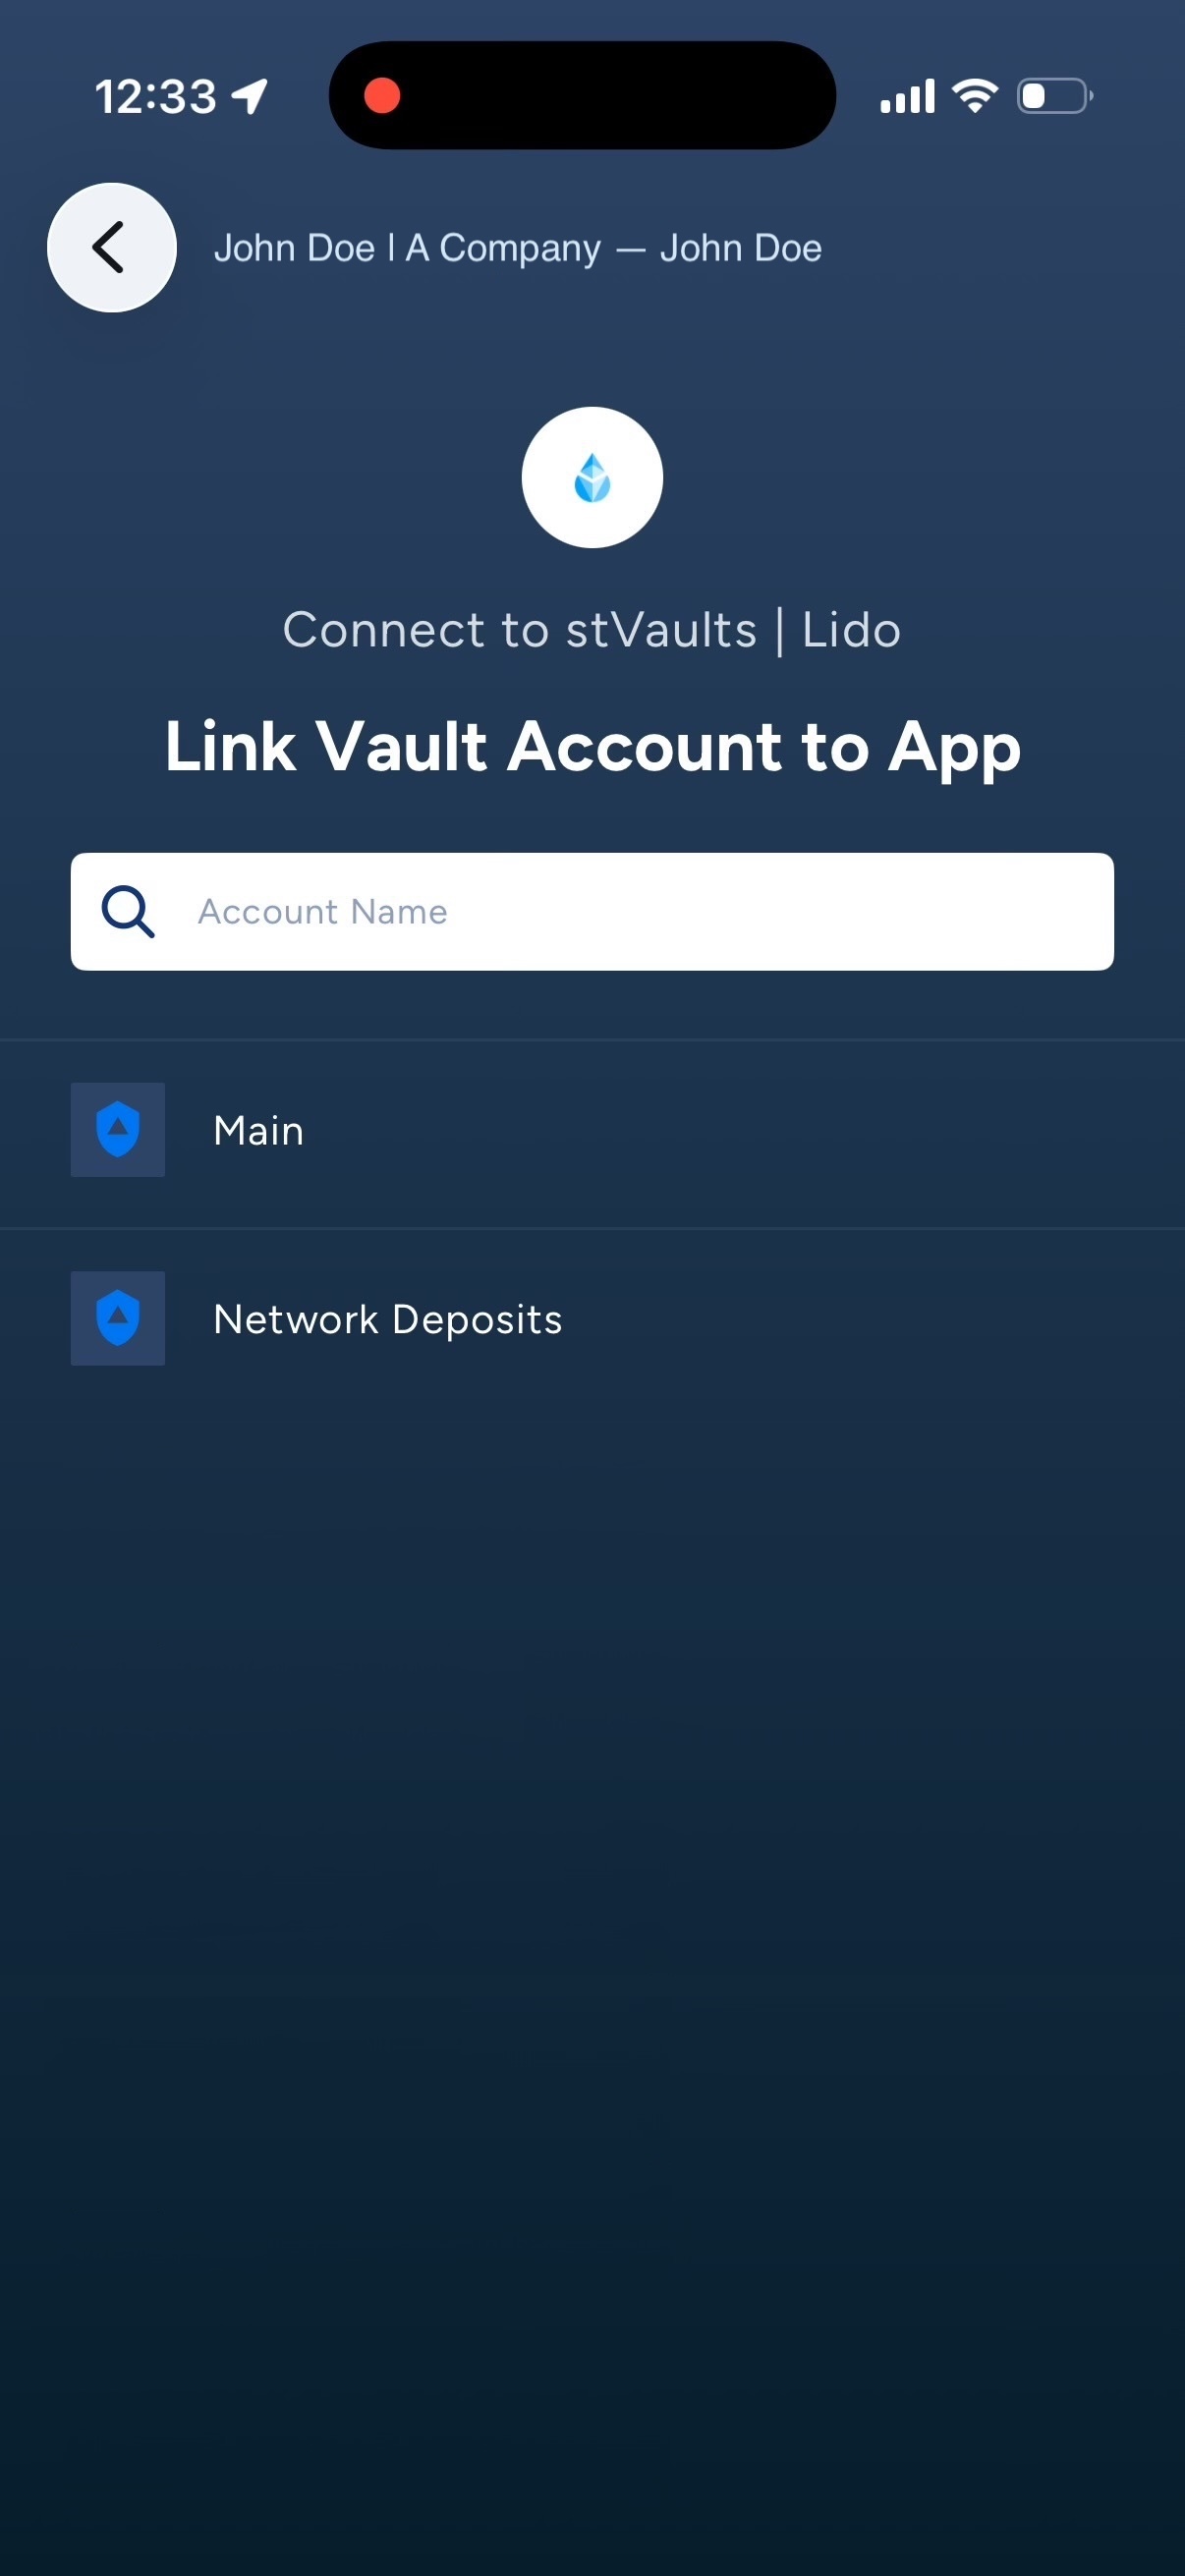
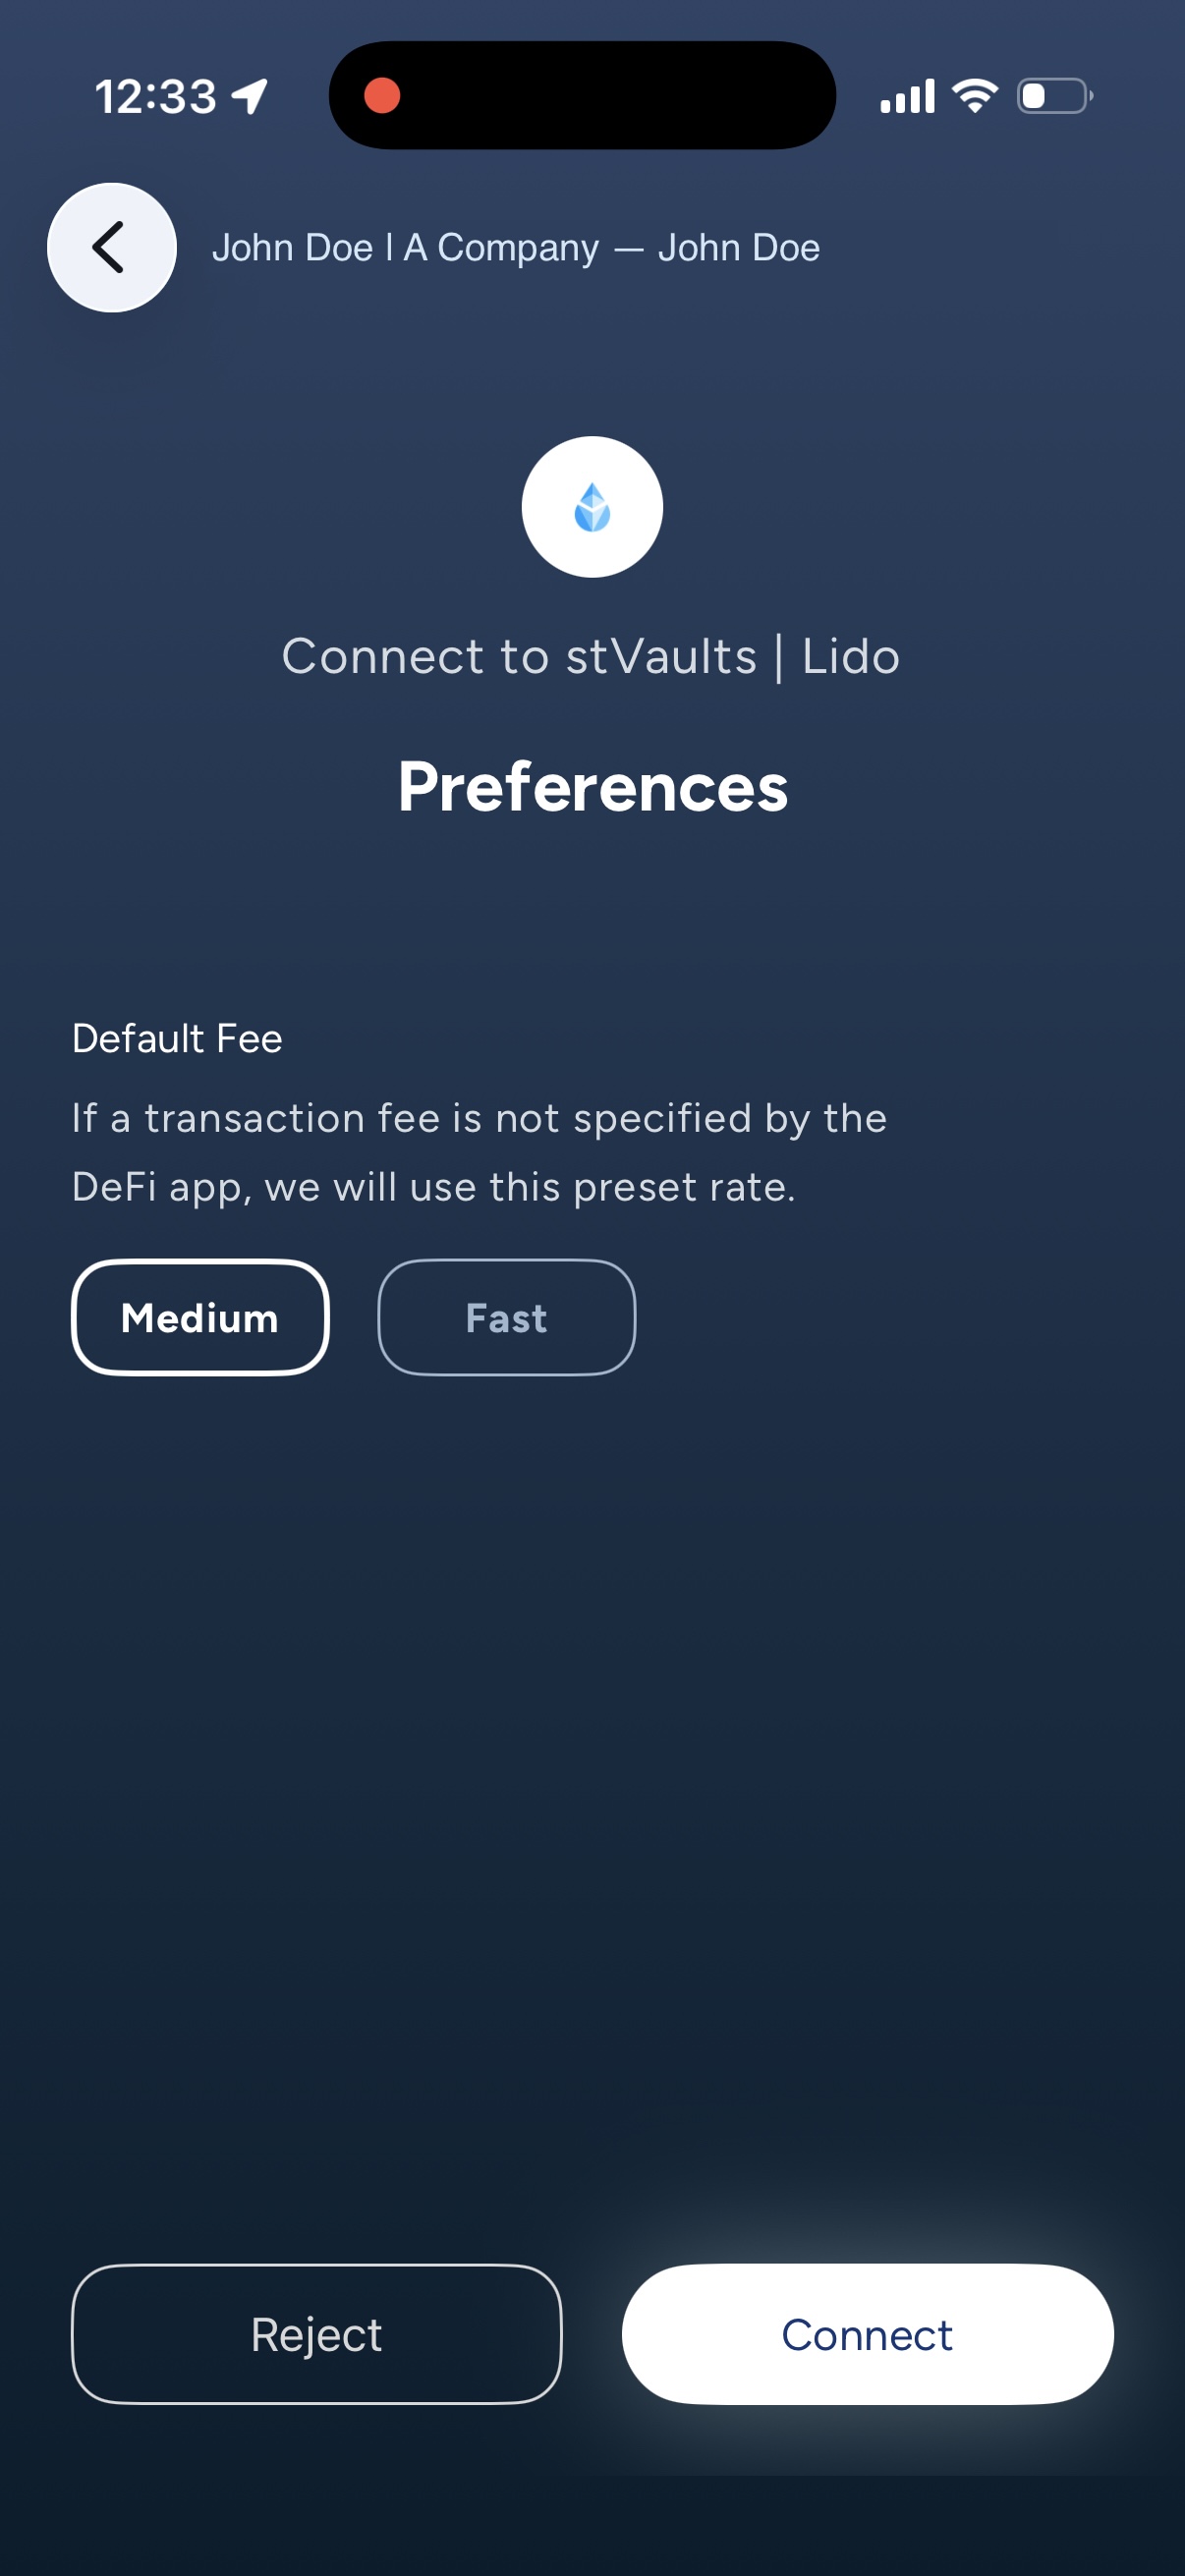
2.3. Configure preferences and tap "Connect".
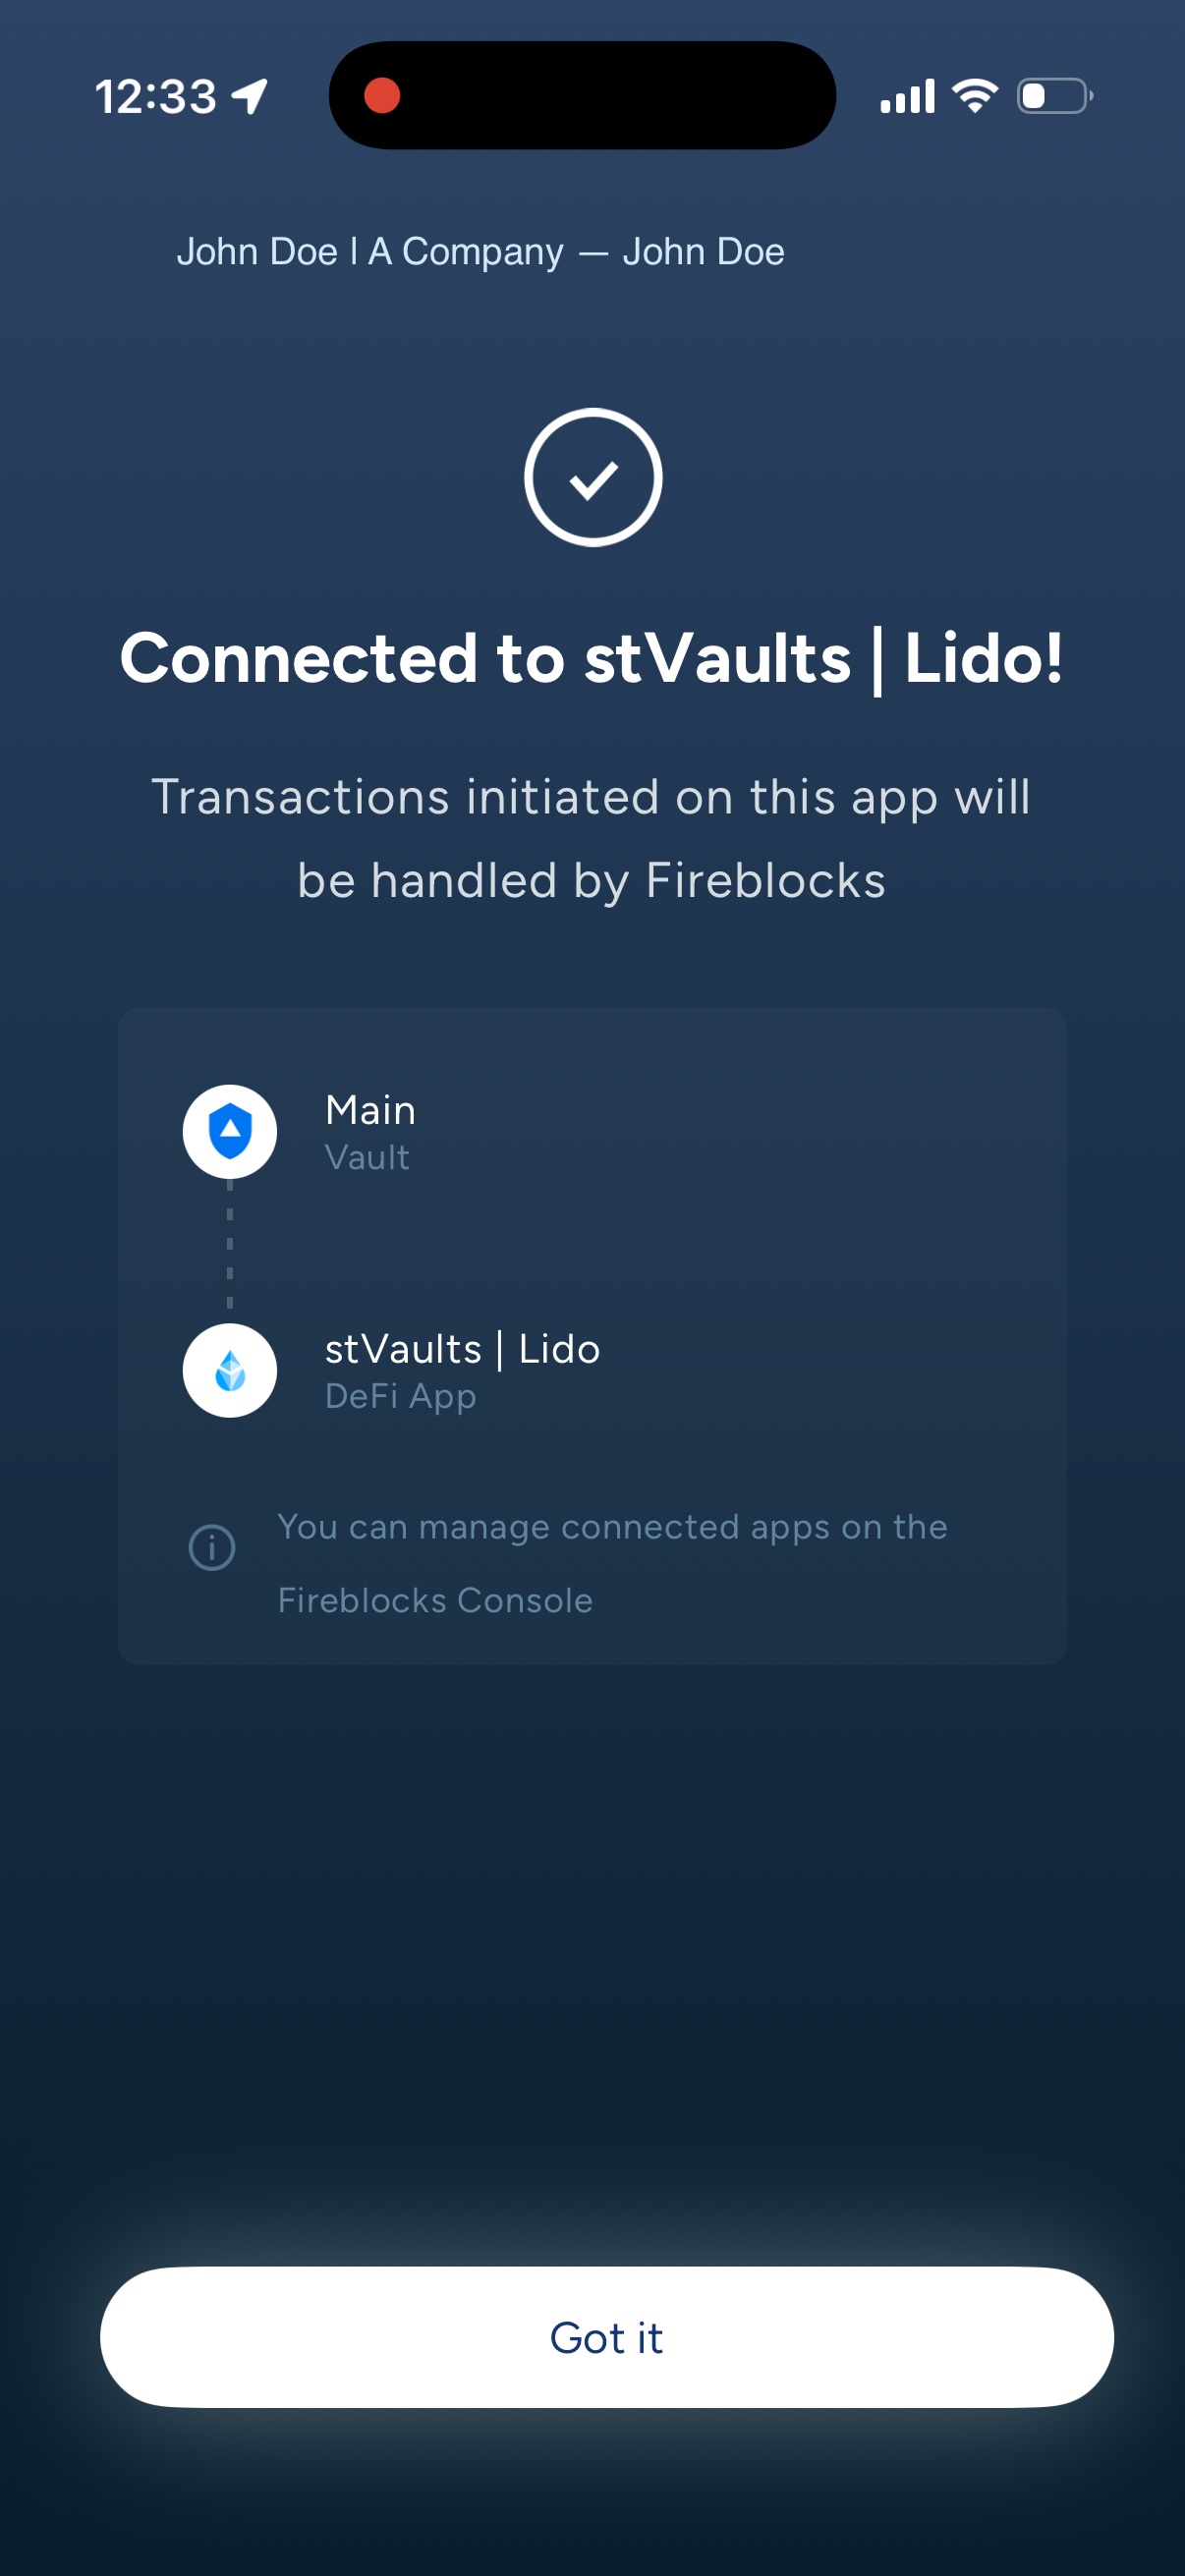
2.4. Connection established.
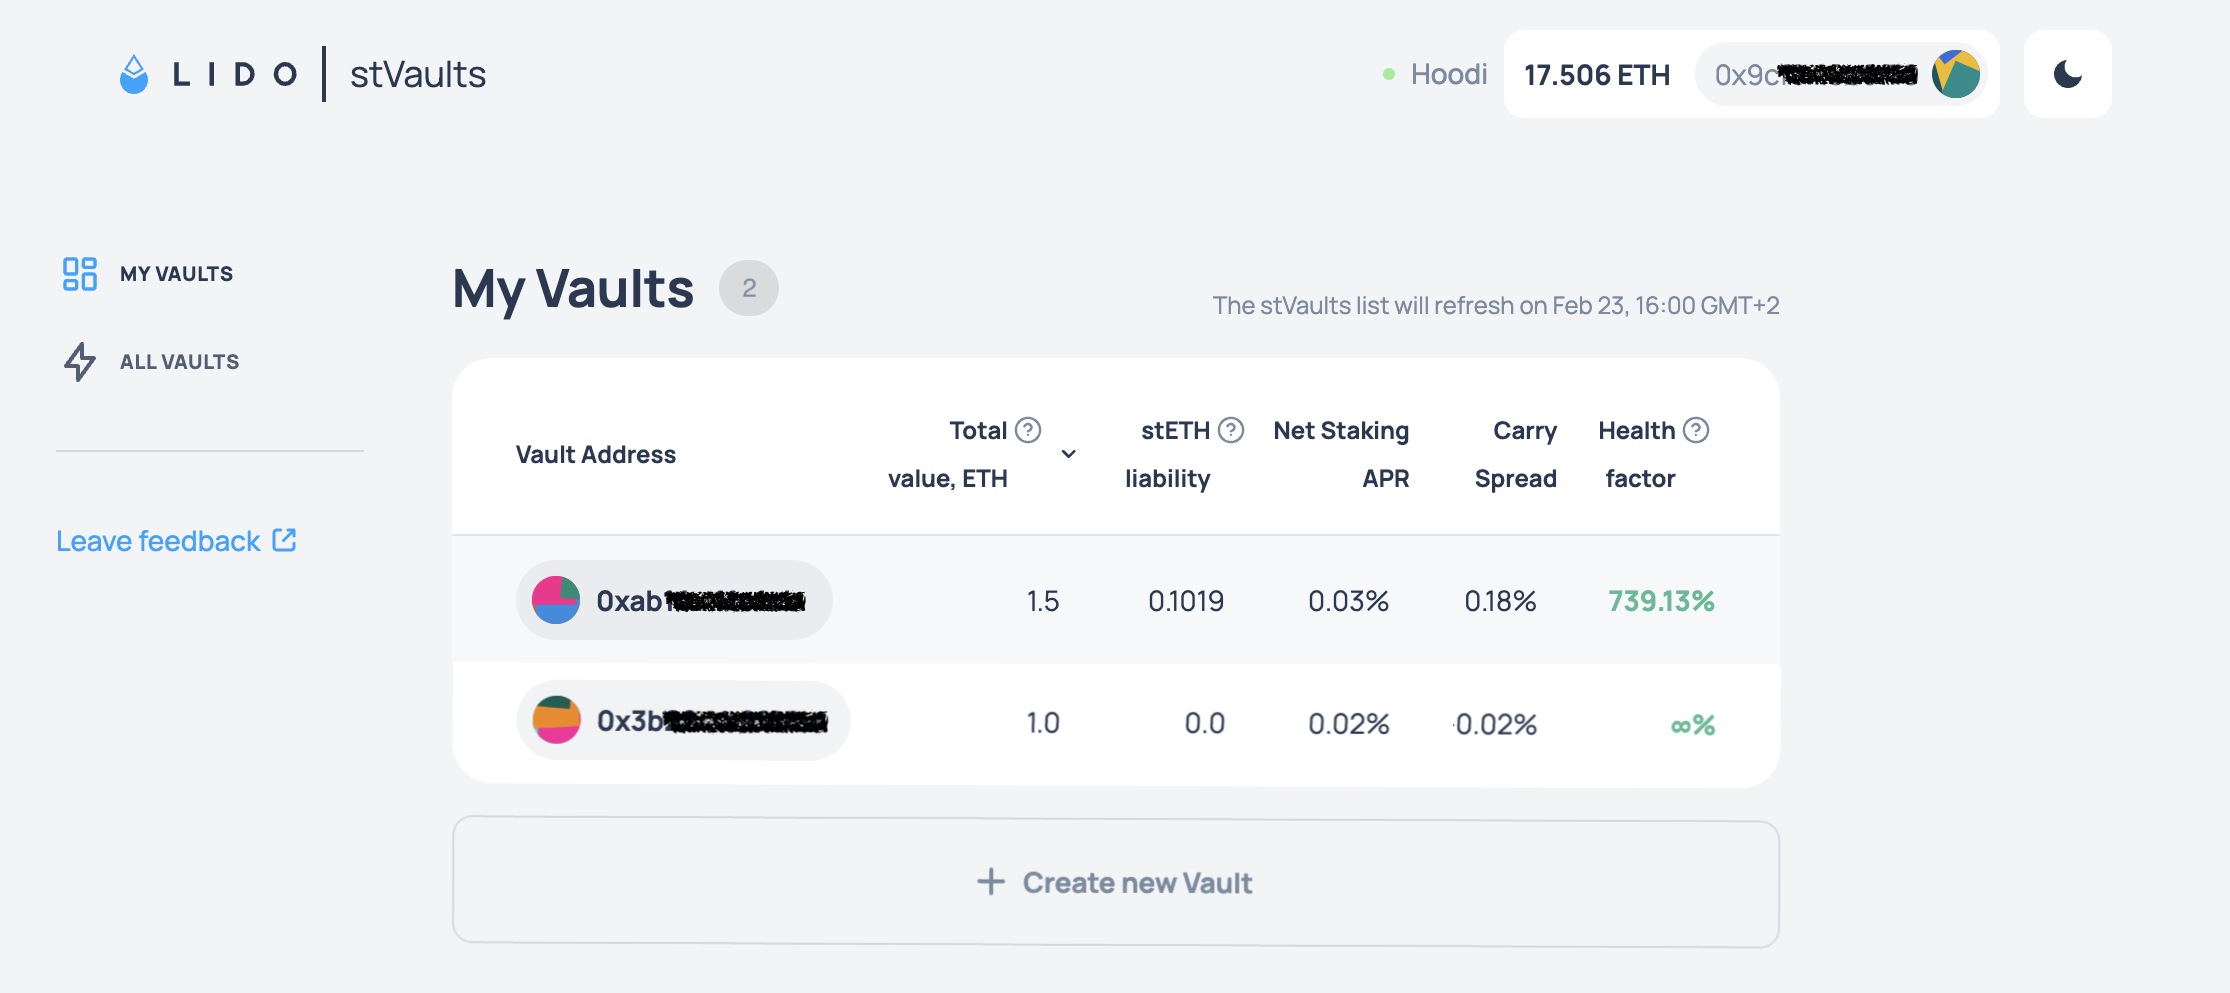
3. In the stVaults Web UI:
Your Fireblocks wallet address will now appear as connected, and you can create and manage stVaults.
Whitelisting smart contract addresses
To use the stVaults infrastructure, the stVaults smart contracts must be whitelisted for interaction. Please ask your administrator to add the required stVaults contract addresses to the whitelist.
You can find the addresses required for whitelisting in the Custodians overview list.