🚀 Key Generation for Mainnet
Generate 0x01 keys for 0x01 CSM or 0x02 keys for 0x02 CSM, with deposit data set to 32 ETH either way. Each module only accepts its own credential type, so double-check before uploading keys.
Important
- It is highly recommended that you perform this step using an air-gapped machine (a device that has never connected to the public internet).
- If this is not available, turn off all internet and wireless connections (Ethernet, WiFi, Bluetooth) before proceeding.
- In both cases, ensure you’re in a safe environment with a trusted network and physically block all camera devices.
- Generate the keys with the deposit amount set to 32 ETH, using 0x01 withdrawal credentials for 0x01 CSM or 0x02 for 0x02 CSM.
Creating an air-gapped machine
You have two options:
- Buy a cheap single-board computer (e.g., Raspberry Pi) and never connect it to the internet.
- OS-on-a-stick: run a live OS from a USB drive, so no files persist after you remove it. You will flash this drive in Flash and install OS, after staging the key generation tool on a second drive.
What you will need
- Two new, empty USB drives
- A paper notebook and pencil
- 100% FOCUS
Download the validator keystore generation file
- Wagyu Keygen
- Executable binaries
- Build from source
This GUI method generates keystores, deposit data, and mnemonic.
- Download the Linux executable from wagyu.gg.
- Copy it onto a new USB drive.
Downloading the executable binary file
On your working laptop, get the latest release of the EthStaker validator key generation tool and its corresponding sha256 checksum.
The commands below use v1.3.0 as an example. Replace the URL, the file name, and the checksum with the ones from the release you actually download, otherwise the verification will fail. Each release publishes its own .sha256 file next to the archive.
cd ~
curl -LO https://github.com/ethstaker/ethstaker-deposit-cli/releases/download/v1.3.0/ethstaker_deposit-cli-d8016bc-linux-amd64.tar.gz
echo "89ecdfd5bb312c723b1feb7e09762be2510fd75df03d91876fad7f247b7238f2 ethstaker_deposit-cli-d8016bc-linux-amd64.tar.gz" | sha256sum --check
Expected output:
ethstaker_deposit-cli-d8016bc-linux-amd64.tar.gz: OK
If the check reports FAILED, stop. Do not use the file.
After verification, move the .tar.gz file onto a new USB drive.
No action needed at this step.
Flash and install OS
- Download latest TailsOS and verify checksums.
- Flash a USB drive with your preferred OS using BalenaEtcher. See TailsOS on USB guide →
Boot menu keys for laptop models
- Non-Apple/Mac: consult [techofide guide] for keys.
- Apple/Mac: consult [Apple support].
- Boot from the USB drive; you should see “Tails.”
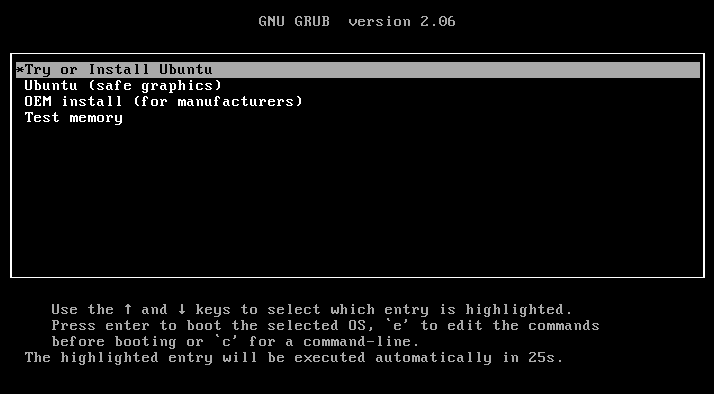
- Select Try or Install Tails
- Click +, set an admin password, then Start Tails
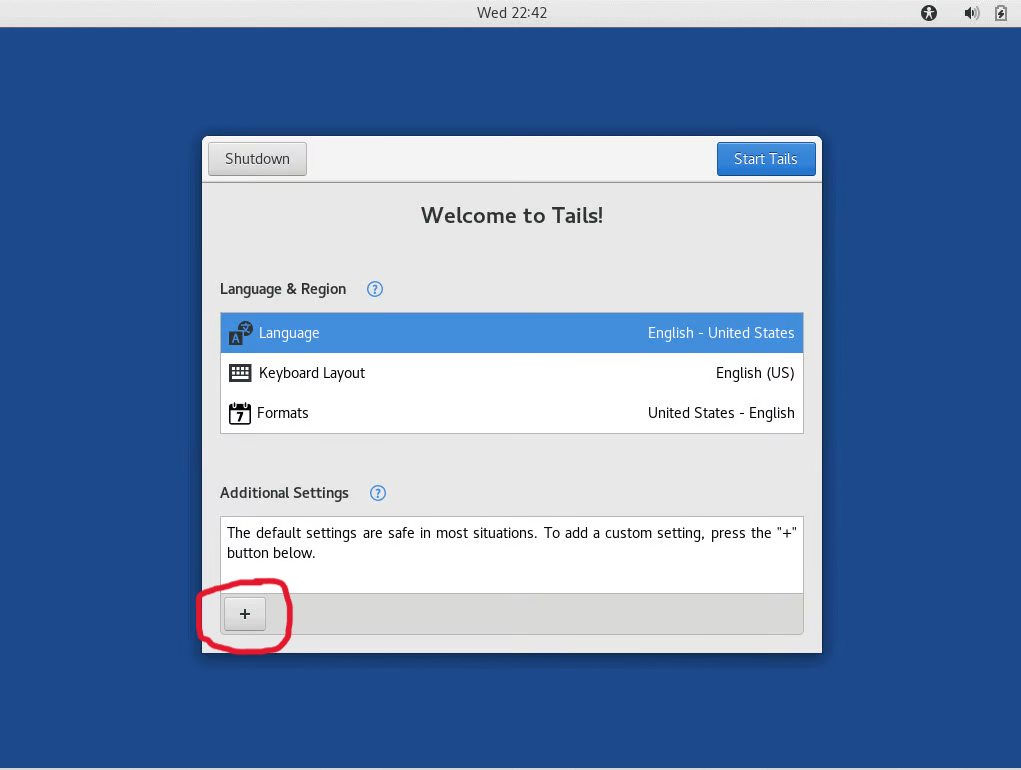
Generate your validator signing keys
- Wagyu Keygen
- Executable binaries
- Build from source
Wagyu Keygen
Before proceeding
- Turn off Ethernet, WiFi, Bluetooth.
- Physically cover all camera devices.
Load the USB drive with Wagyu Keygen to the fresh OS.
Run the GUI and:
- Create a secret recovery phrase.
- Select network: Mainnet.
- Write down and confirm the phrase.
- Choose number of keys.
- Choose the withdrawal credential type: regular (0x01) for 0x01 CSM, or compounding (0x02) for 0x02 CSM.
- Encrypt keystores with a password.
- IMPORTANT: Set withdrawal address to the Lido Withdrawal Vault in Ethereum Mainnet:
0xB9D7934878B5FB9610B3fE8A5e441e8fad7E293f - Confirm password.
- Save keystores & deposit data to a USB drive.
Executable binaries
Load the USB drive with the .tar.gz file to the fresh OS. Open terminal:
cd Desktop
tar xvf ethstaker_deposit-cli-d8016bc-linux-amd64.tar.gz
cd ethstaker_deposit-cli-d8016bc-linux-amd64
Before proceeding
- Turn off Ethernet, WiFi, Bluetooth.
- Cover camera devices.
Generate keys for 0x01 CSM:
./deposit new-mnemonic --num_validators <number> --chain mainnet --regular-withdrawal --eth1_withdrawal_address 0xB9D7934878B5FB9610B3fE8A5e441e8fad7E293f
Or for 0x02 CSM:
./deposit new-mnemonic --num_validators <number> --chain mainnet --compounding --amount 32 --eth1_withdrawal_address 0xB9D7934878B5FB9610B3fE8A5e441e8fad7E293f
Always pass --regular-withdrawal or --compounding explicitly. Starting with v1.3.1, the tool generates 0x02 keys by default, so omitting the flag can produce the wrong credential type for 0x01 CSM.
Expected output:
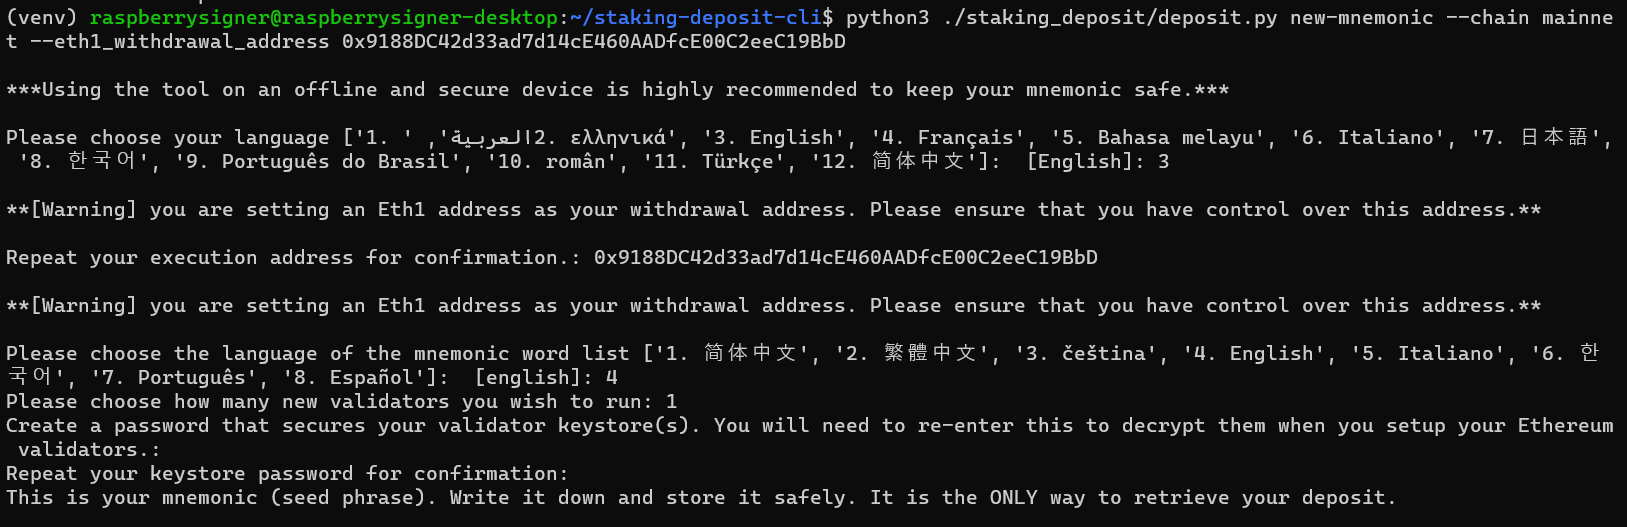
Mnemonic generated—write it down on paper:

Verify by retyping phrase; you’ll see a Rhino ASCII art:
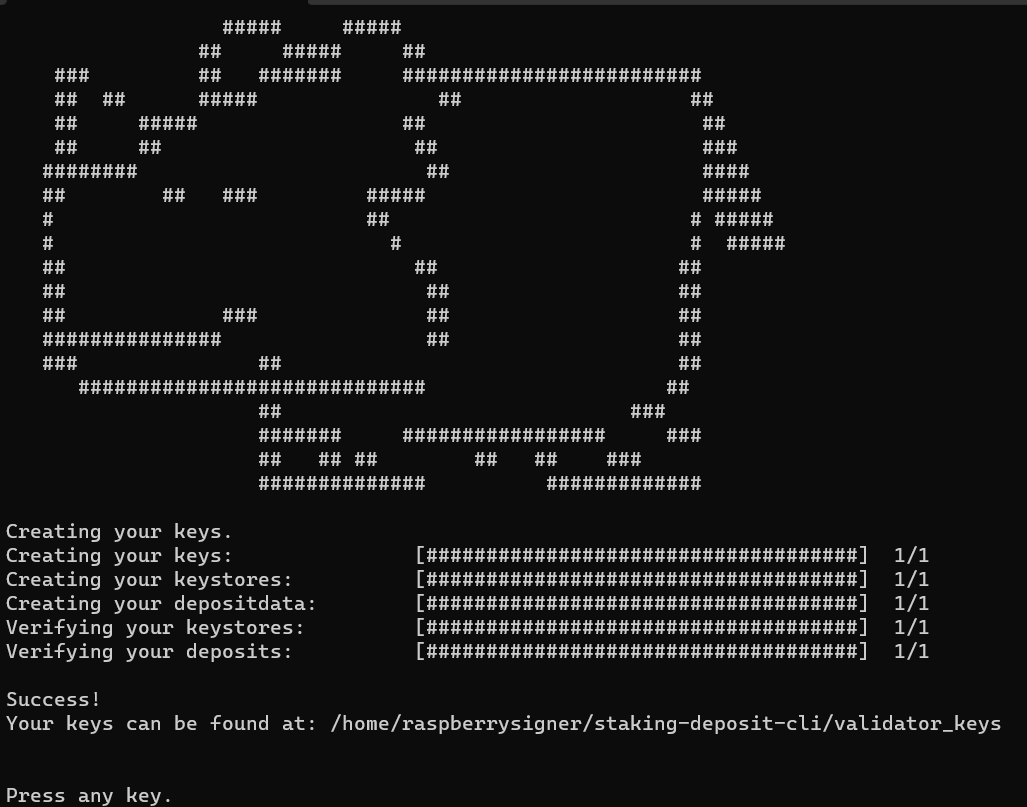
Store generated files on a new USB drive; remove OS-on-a-stick.
Build from source
On the fresh OS, install dependencies:
sudo apt-get update -y && sudo apt-get upgrade -y
sudo apt install python3-venv python3-pip python3-virtualenv git
Create venv & clone tool:
virtualenv venv
source venv/bin/activate
pip3 install -r requirements.txt
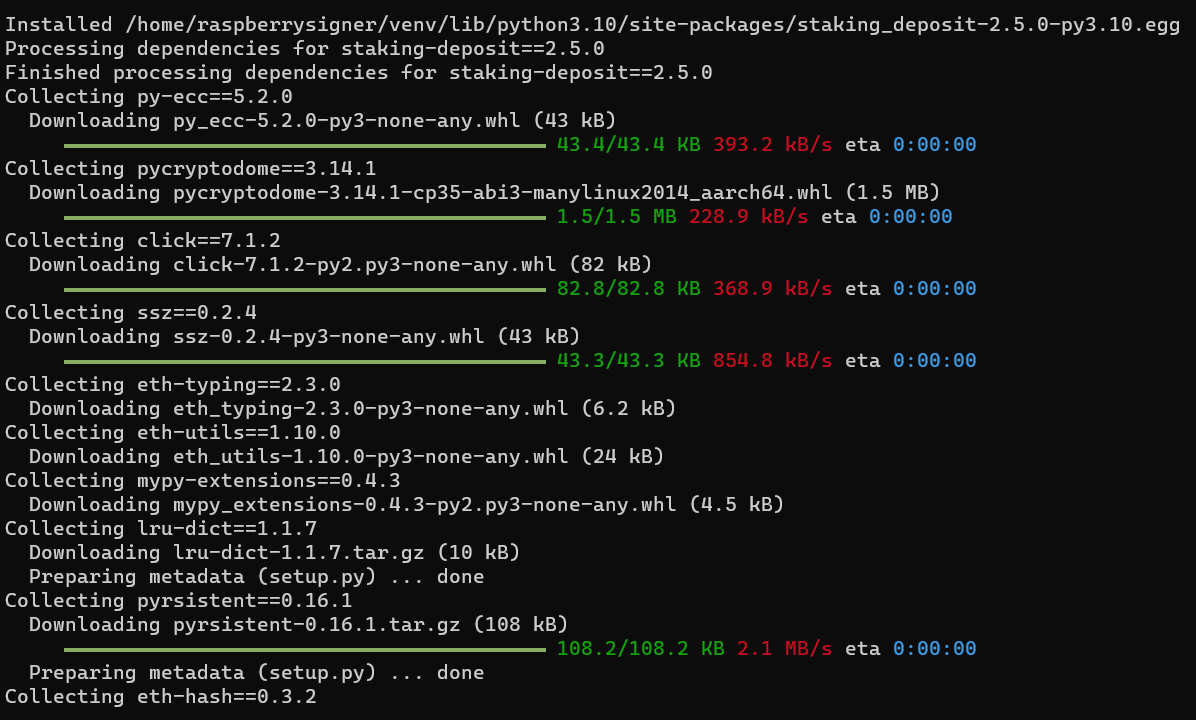
Before proceeding
- Turn off Ethernet, WiFi, Bluetooth.
- Cover camera devices.
Generate keys for 0x01 CSM:
python -m ethstaker_deposit new-mnemonic --num_validators <number> --chain mainnet --regular-withdrawal --eth1_withdrawal_address 0xB9D7934878B5FB9610B3fE8A5e441e8fad7E293f
Or for 0x02 CSM:
python -m ethstaker_deposit new-mnemonic --num_validators <number> --chain mainnet --compounding --amount 32 --eth1_withdrawal_address 0xB9D7934878B5FB9610B3fE8A5e441e8fad7E293f
Always pass --regular-withdrawal or --compounding explicitly. Starting with v1.3.1, the tool generates 0x02 keys by default, so omitting the flag can produce the wrong credential type for 0x01 CSM.
Import Validator Key to your Node
- Dappnode
- EthPillar
- Stereum
- Sedge
- Eth Docker
- Systemd
Go to Stakers → Ethereum in Dappnode UI, click Upload Keystores.
Import your keystores and enter passwords.
Tag them “Lido”; fee recipient set to 0x388C818CA8B9251b393131C08a736A67ccB19297.
Once the keystores are imported into your validator client, upload the deposit_data.json to CSM and provide your bond: Upload keys to CSM →
Locate keystore path:
cat $(find /var/lib -name "keystore*.json" 2>/dev/null)
Run:
ethpillar
Select Validator Client → Generate / Import Validator Keys → Import validator keys from offline key generation or backup and paste the path.
In Staking tab of Stereum Launcher, drag & drop keystores, enter password, click ✓.
To import keys in sedge, you just have to run:
sedge import-key --from `path-to-keys` -n `network` --start-validator `name-of-validator-client`
This will copy the keys from the specified path, ensure are set to the correct network, and help Sedge know how to import them based on the used client.
Move keystores into ~/eth-docker/.eth/validator_keys, adjust permissions, then:
ethd keys import
Refer to Advanced → Systemd → Method 2 for systemd instructions: