How to Vote, Override, Delegate with Etherscan
This guide will walk you through how to vote, override your delegate's vote, and delegate your voting power using Etherscan. If the Voting UI is unavailable or you prefer to vote via Etherscan, follow these simple steps.
Getting Started
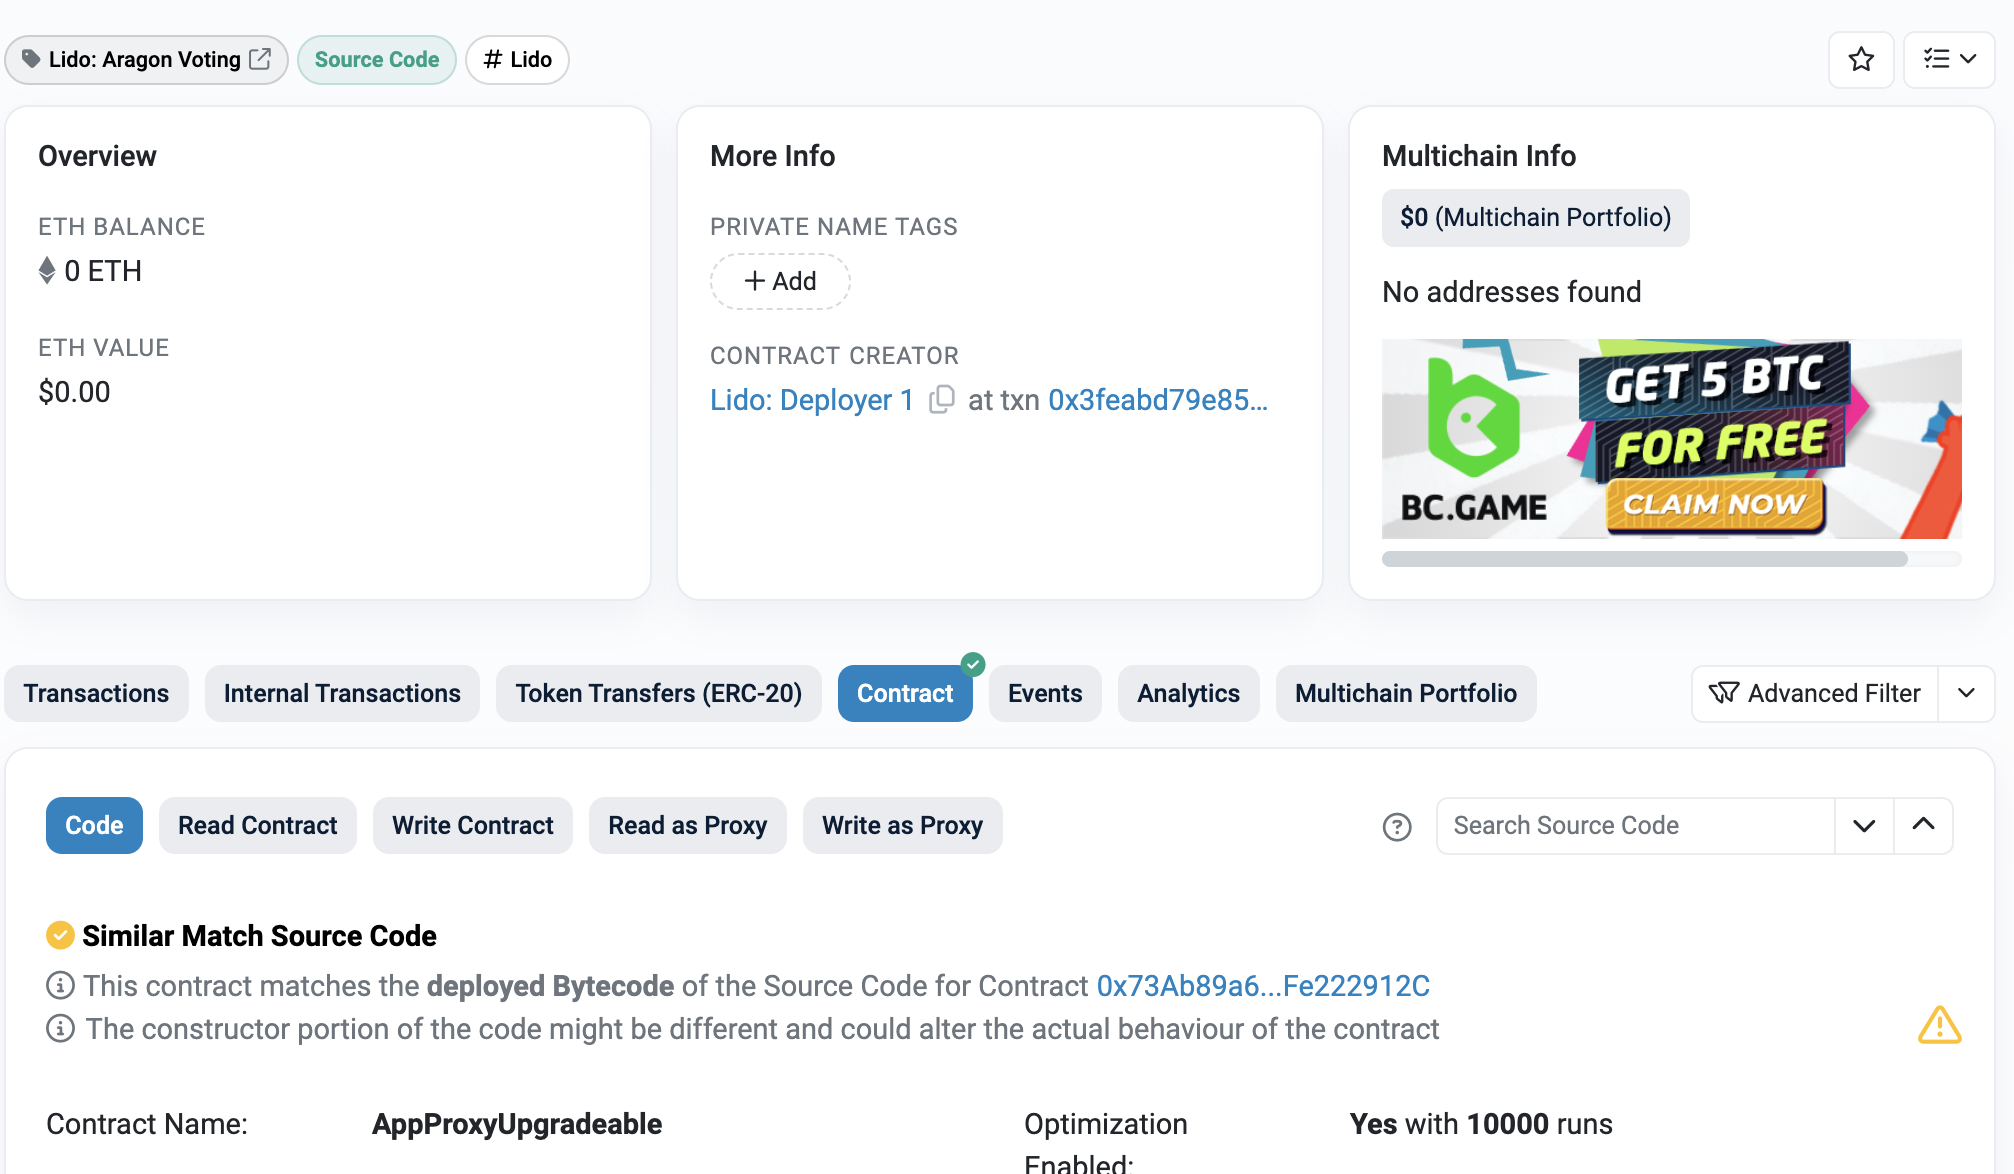
Obtain the address of the Lido DAO Aragon Voting contract from the Deployed Contracts page. Currently, it is 0x2e59A20f205bB85a89C53f1936454680651E618e. Open this contract on Etherscan.
Voting
Step 1: Find the Voting ID
- Go to the Contract tab.
- Go to the Read as Proxy tab of the Aragon Voting contract.
- Locate the
votesLengthmethod (number 29) to get the current vote ID.

The number you see here is the ID of the current vote. For example, if it shows 110, that's the current vote ID.
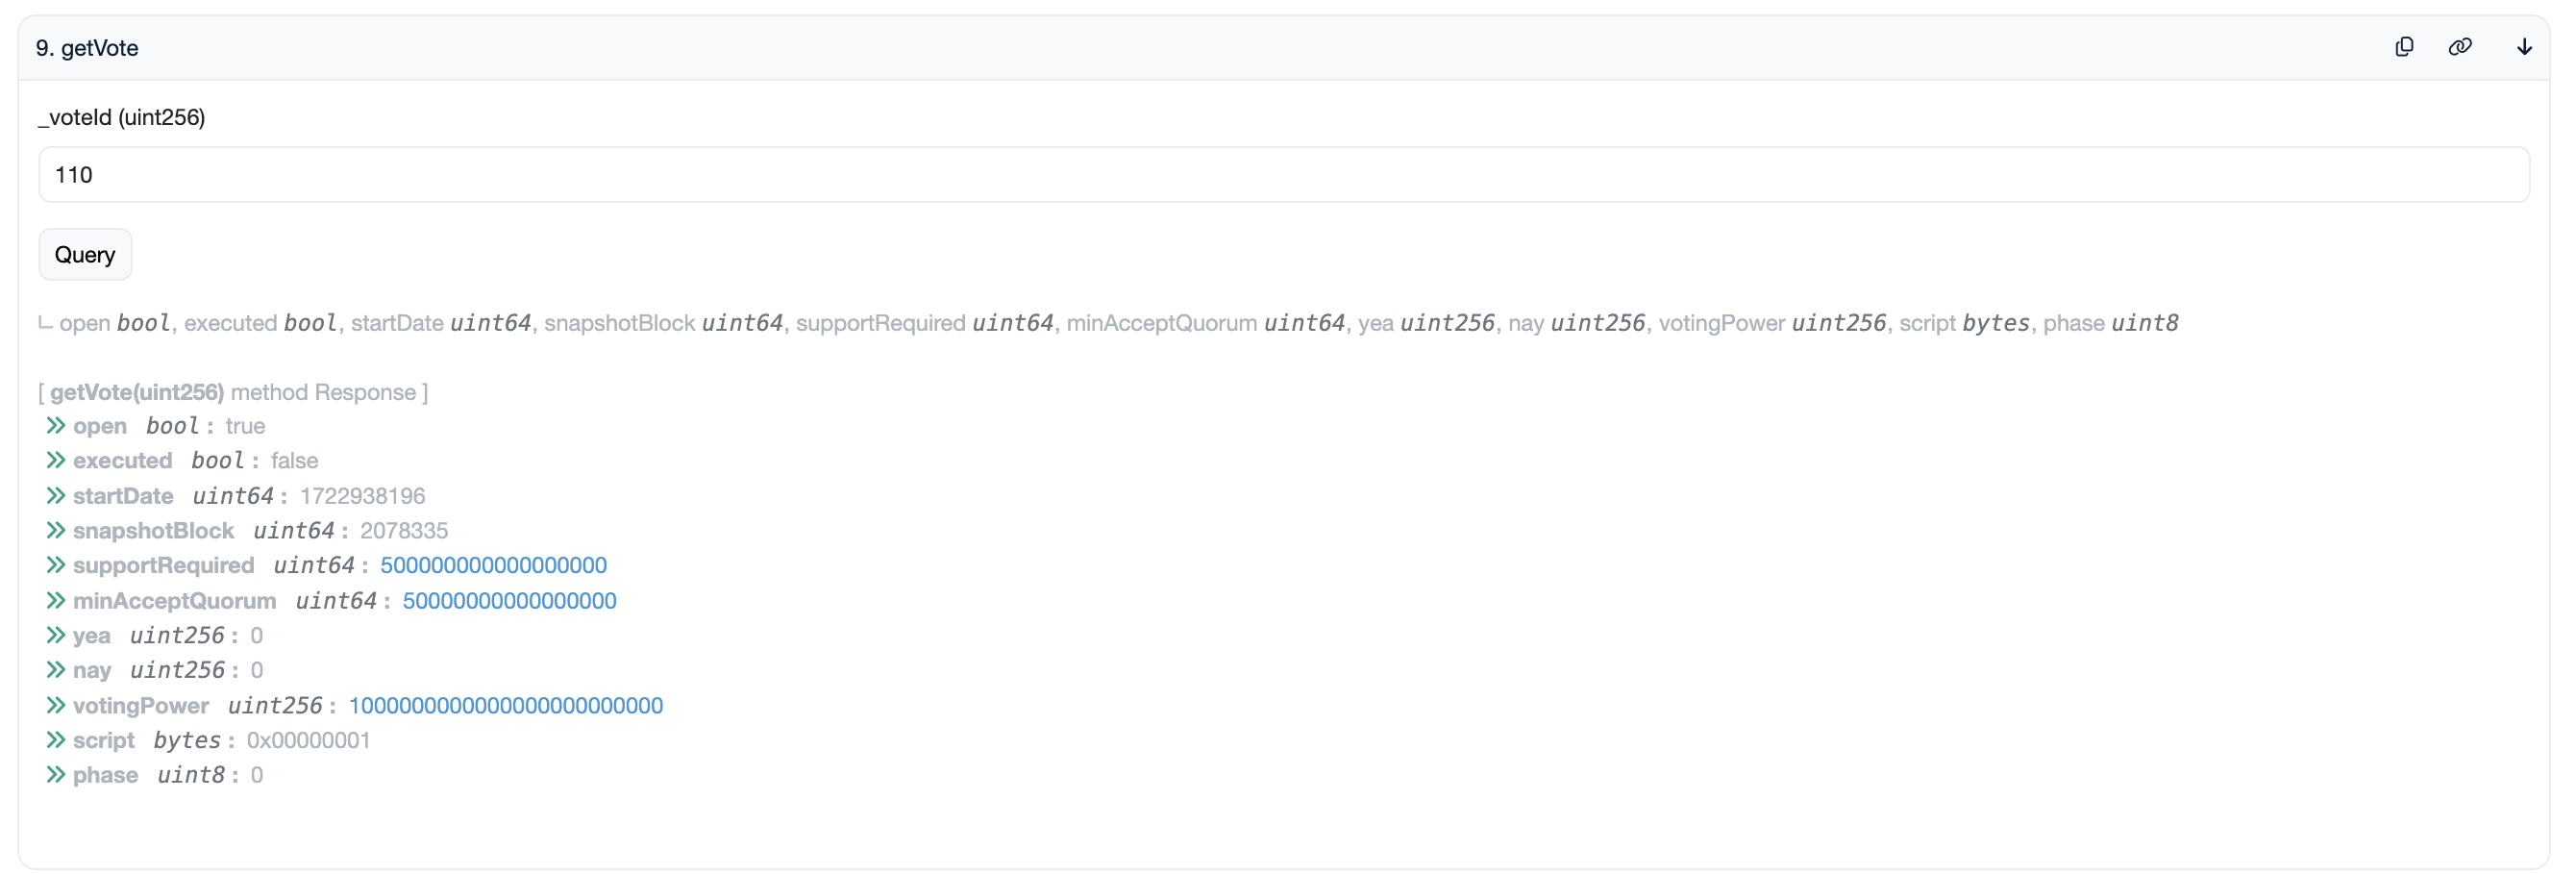
Step 2: Review the Proposal
- Use the
getVotemethod (number 9) to review the proposal. Note that to understand the proposed changes, you will need to decode the bytecode into readable scripts.
Step 3: Cast Your Vote
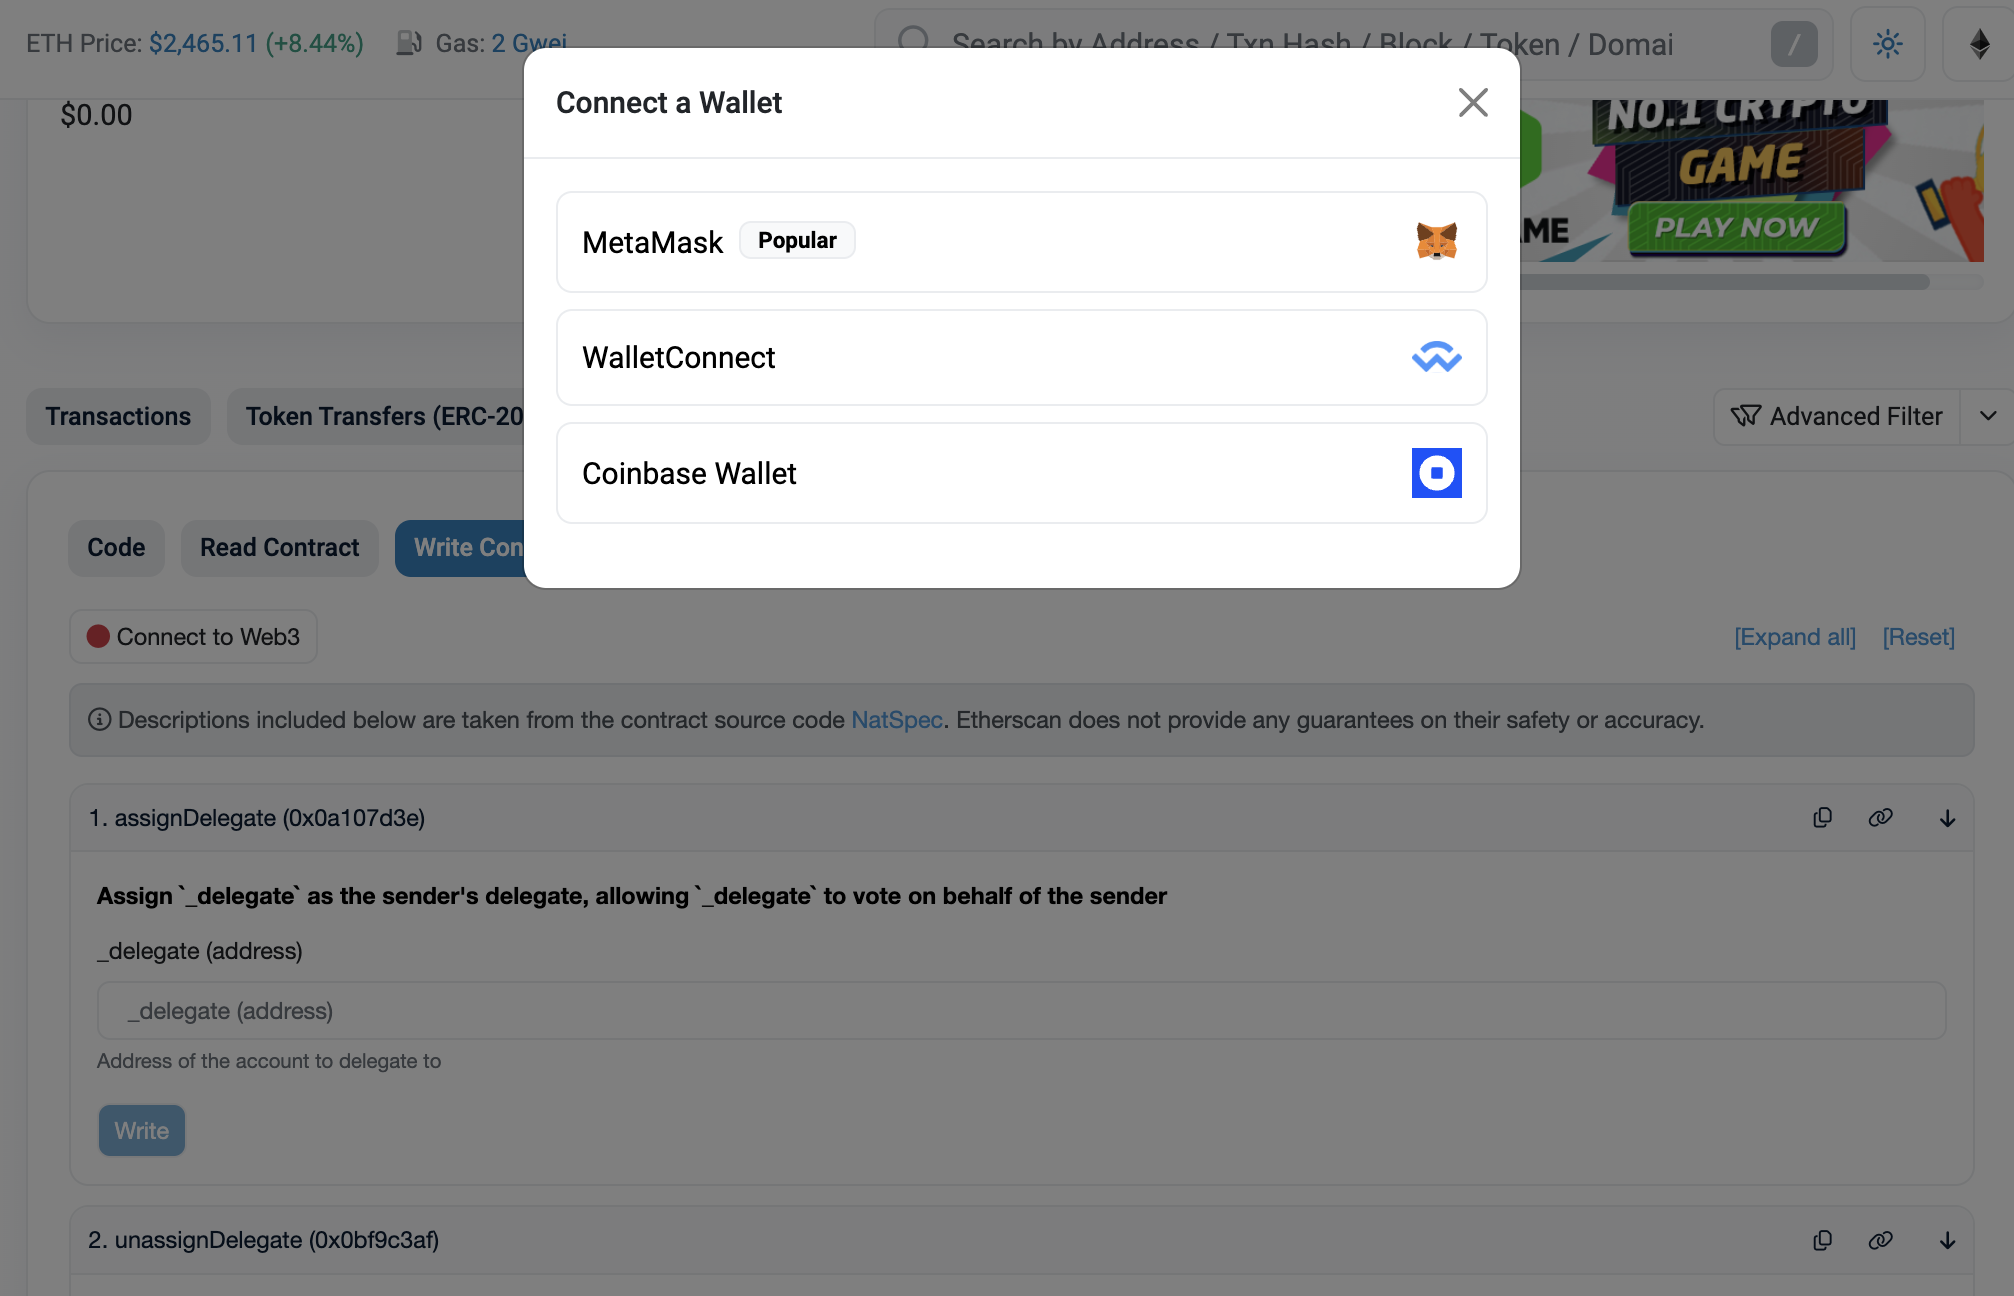
- Navigate to the Write as Proxy tab.
- Click Connect to Web3 and connect the address where you hold LDO tokens. The indicator should turn green.
- Use the
votemethod (number 13).
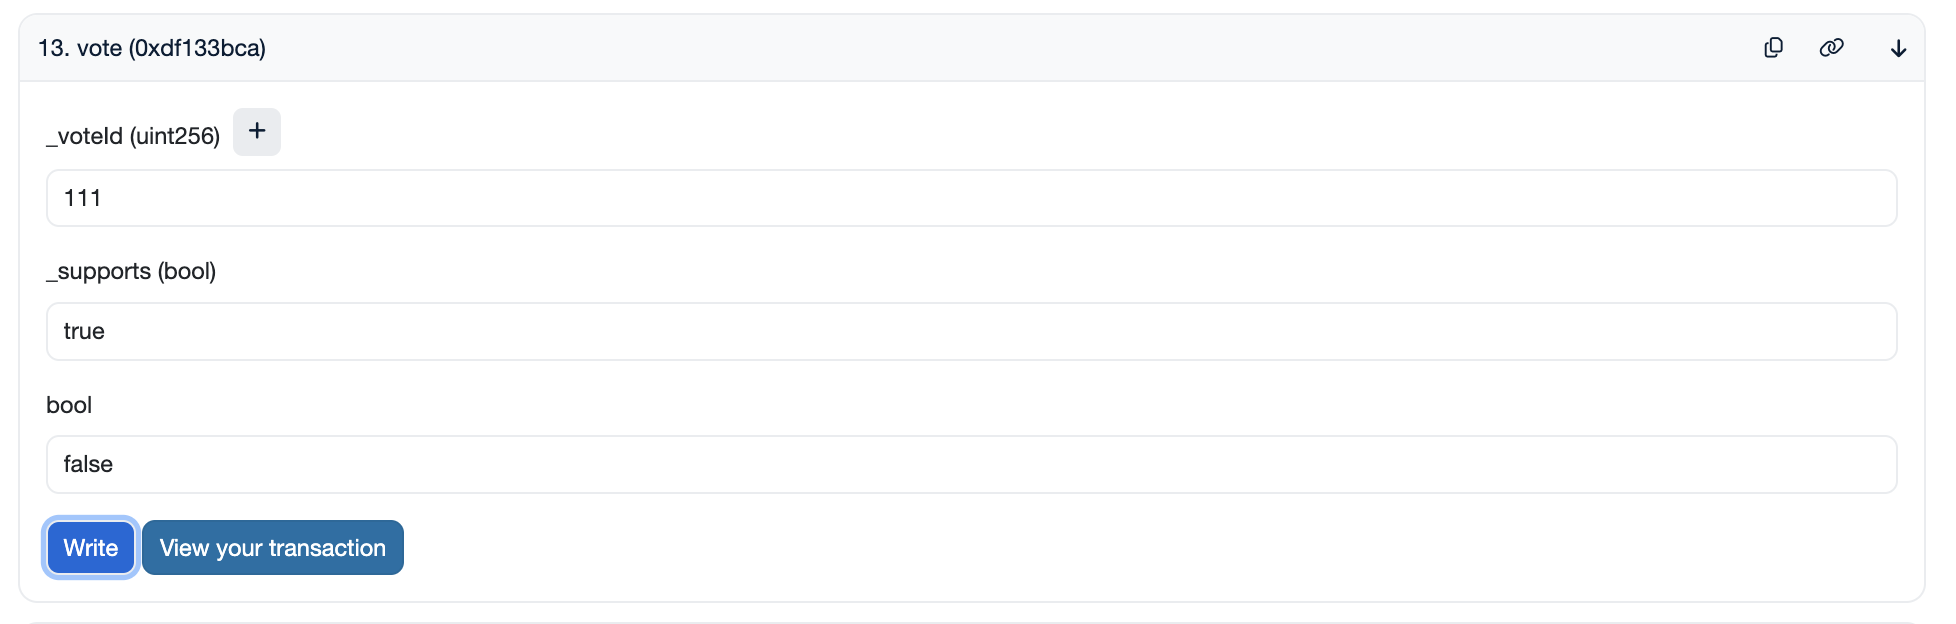
- Fill in the parameters
_voteId,_supports, and_executesIfDecidedand send the transaction:_voteIdis the vote ID from Step 1._supportsindicates whether you support (true) or oppose (false) the vote._executesIfDecidedshould be set tofalse.
Step 4: Sign the Transaction
Sign the transaction to cast your vote. That's it! 🎉
Overriding
Step 1: Check Delegate's Vote
- Go to the Contract tab.
- Go to the Read as Proxy tab of the Aragon Voting contract.
- Use the
getVoterStatemethod (number 7).
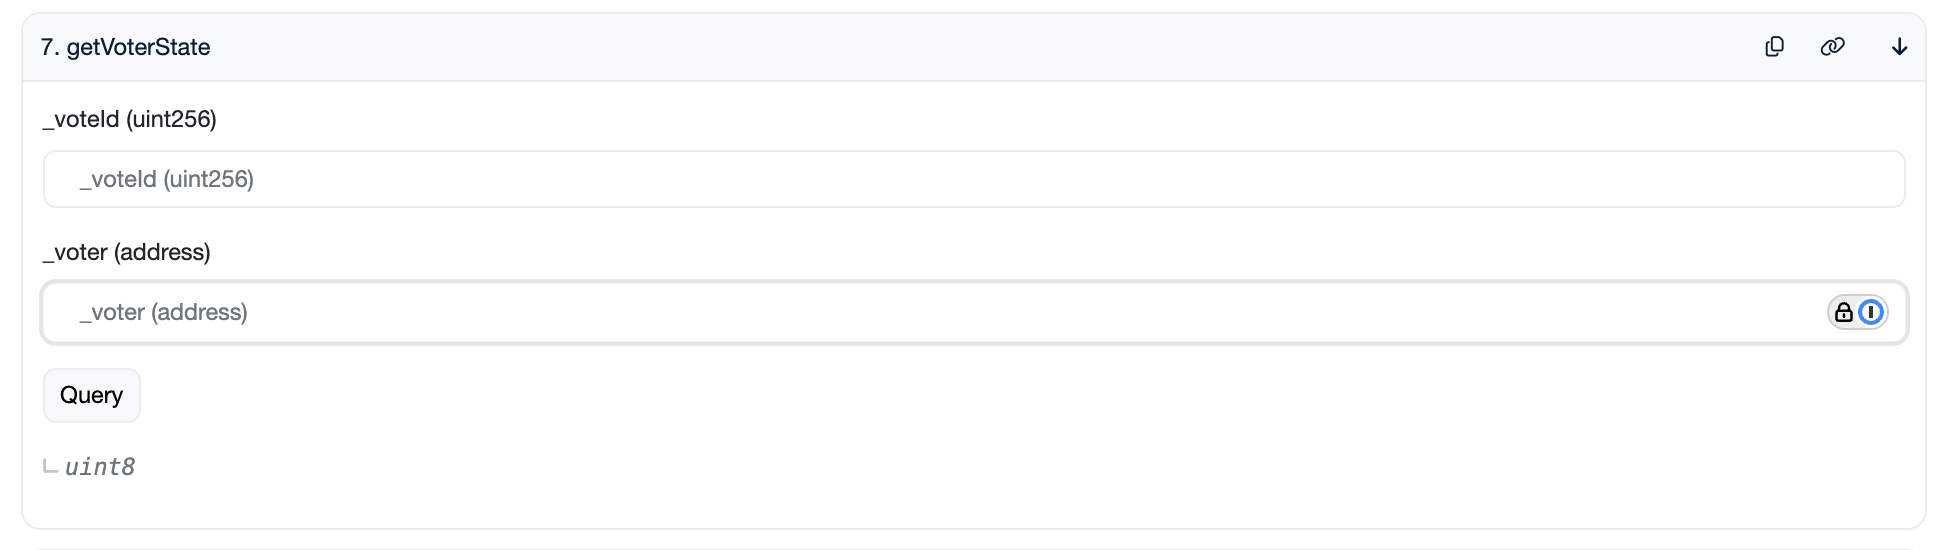
Enter the vote ID and your address to see how your delegate voted.
Step 2: Vote Yourself
If you disagree with the delegate's choice and wish to vote yourself, follow the steps in the Voting Steps section.
Delegating Through Etherscan
Assign a Delegate
- Go to the Contract tab.
- Go to the Write as Proxy tab.
- Use the
assignDelegatemethod (number 1). - Click Connect to Web3 and connect your address. The indicator should turn green.
- Enter your delegate's address and submit the transaction.
That's it! Your delegate is assigned.
Remove a Delegate
- Go to the Contract tab.
- Go to the Write as Proxy tab.
- Use the
unassignDelegatemethod (number 2). - Click Connect to Web3 and connect your address. The indicator should turn green.
- Click Write without entering anything and sign the transaction.
That's it! Your delegate has been removed.